It looks like you are using an ad blocker. That's okay. Who doesn't? But without advertising revenue, we can't keep making this site awesome. Click the link below for instructions on disabling adblock.
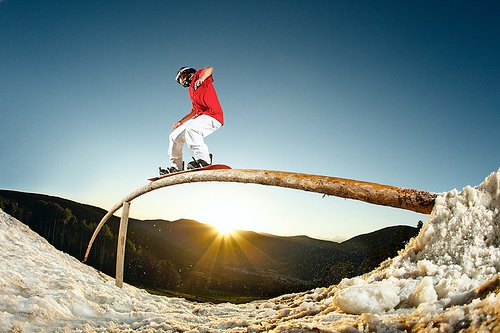
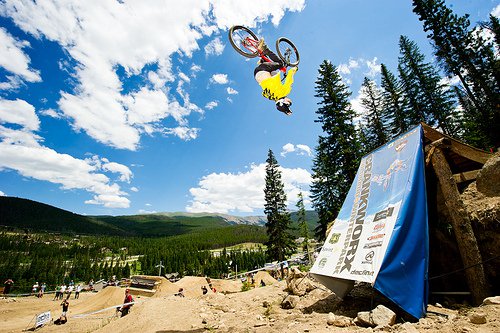
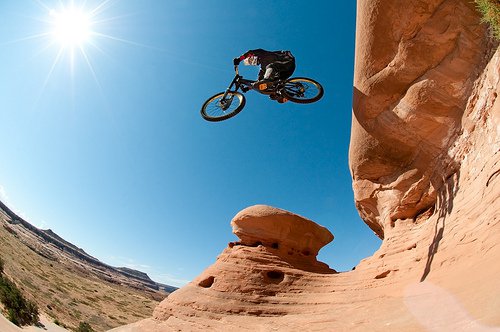
If you just got your first camera out of the box, you have probably reached for the Camera Modes dial and changed between the different settings a few times. Every camera these days have a variety of modes optimized for different shooting conditions, plus several advanced modes.In this article we are going to cover only the important modes, and if you haven't used them, we strongly recommend that you start. Forget about Automatic mode and start making you own decisions! Start using Aperture Priority, Shutter Priority or Full Manual Mode.Although we don't recommend using automatic mode, we are going to cover it since it's one of the most popular modes. In Automatic mode, your camera adjusts all the settings for you. It uses it's own judgment (for better or worse..) to set ISO, Shutter Speed, Aperture, White Balance, Flash and everything else. It works well for the most part, but don't forget that the camera is just guessing what's going on around you. It doesn't know if you are shooting sports at night, lifestyles, or a snowboarder on the snow. Action sports photography is all about unusual conditions and that's why you should help you camera for better results.Aperture Priority Mode – Often abbreviated with A or Av on the Mode dial, this is the mode where you select a constant Aperture value and your camera sets the shutter speed for proper exposure. (Read more about Aperture here.) Use this mode when you like to maintain depth of field(how much of the image is in focus) or you want your lens to stay at the sharpest setting. In APS we often use this more for shooting action outdoors where you have plenty of light and the shutter speed stays fast as long as your ISO is cranked up a bit.Shutter Priority Mode – Marked as TV or S on the dial, this mode is pretty similar to Aperture Priority mode, but you set the Shutter Speed (Learn about shutter speed here) and the camera chooses the Aperture value that is required for the correct exposure. This mode is great if you are looking to maintain high shutter speed to freeze motion or slow shutter speed to apply motion to your images. It's also best when shooting with flashes in changing light conditions, and you want to make sure the shutter speed won't go above the Sync Speed of your camera.In the two modes mentioned above, the camera still uses the light meter and guesses the rest of the settings. They are great modes for changing light conditions and but you may have to help your camera every now and then. You do that by using Exposure Compensation (read more about this here). Manual Mode. In manual mode, you have full control over absolutely all the camera settings. You have to have a good idea of what the appropriate exposure in different conditions will be, just by looking at your light meter and judging the surrounding conditions. Shooting in manual mode usually starts with couple test shots, so you can get an idea of what your exposure looks like. By using the LCD on the back of the camera and the built-in Histogram you can figure this out pretty easy. Manual mode gives you a ton of flexibility so you can set your shots the way you want them. Another HUGE benefit is image consistency, your camera won't change anything for you in this mode, so once you get the exposure right it will remain that way until you change something. In the other modes if you move the camera a little bit, you can get a completely different exposure which is not satisfying for any professional. DON'T let manual mode scare you, many people are afraid to use it, but if you are serious about your photography just start using it and before you know, that will be pretty much the only mode for you.


Comments