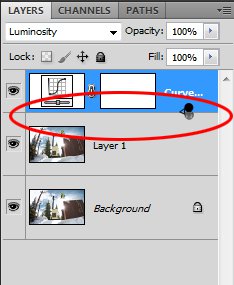
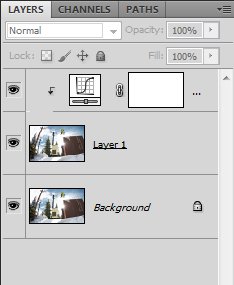
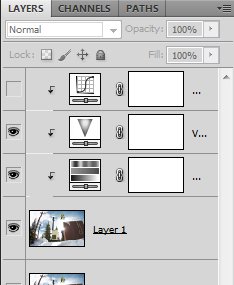
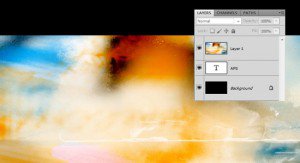
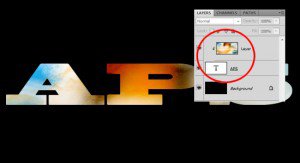
In a previous article we discussed the power of selective editing.  Here is another great photoshop feature to offer when it comes to selective editing.  Clipping masks are just a simple way of clipping a layer or adjustment to another layer, so it only affects the layer underneath (the one that it is clipped to). This will help you take your selective editing to the next level.You can only clip layers to a layer located underneath the layer you want to clip. You clip layers by placing the cursor between the two layers you want to clip, and you will see this icon:

. Then just Alt/Opt + Click. Or you can right-click the layer and select “Create Clipping Mask” from the drop down menu. 
  
 Now that the Adjustment layer above is clipped to the layer underneath, it is going to affect only this layer. You can also clip multiple layers to one layerby stacking them on top of each other. 
 As you can see this technique is a very simple and very powerful way to get selective adjustments applied to specific and selective layers. There are many ways to use clipping masks creatively. One cool way is by applying images to text. This is as simple as creating the text preferrable with a bolder font because they have more surface. Then load an image that you like to clip to the text. Make sure the text is located underneath the image, and move your cursor between the two. Once you see the icon appear,  Alt/Opt + Click on it and the image will be applied to the text.
 
 
There are tons of creative ways to use this technique for editing, and all it takes is a bit of practice and experimentation.  Say you have an athlete selected, and want to add contrast to just that selected layer.  Simply mask the athlete in a layer, and create a curves adjustment layer above.  Then move your cursor between the two, and Alt/Opt Click on the layer when you see the icon appear.Now open an old image and let the creativity begin!