It looks like you are using an ad blocker. That's okay. Who doesn't? But without advertising revenue, we can't keep making this site awesome. Click the link below for instructions on disabling adblock.
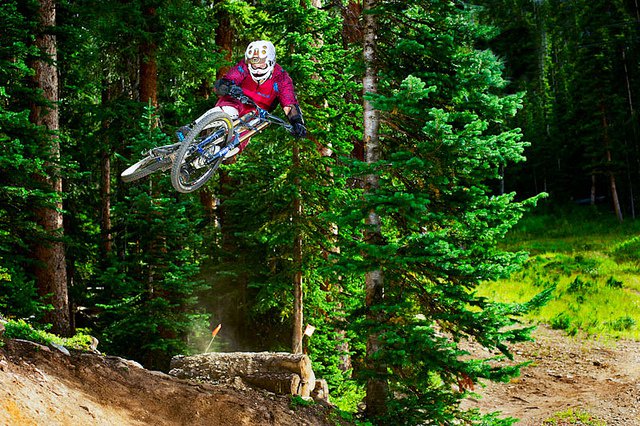
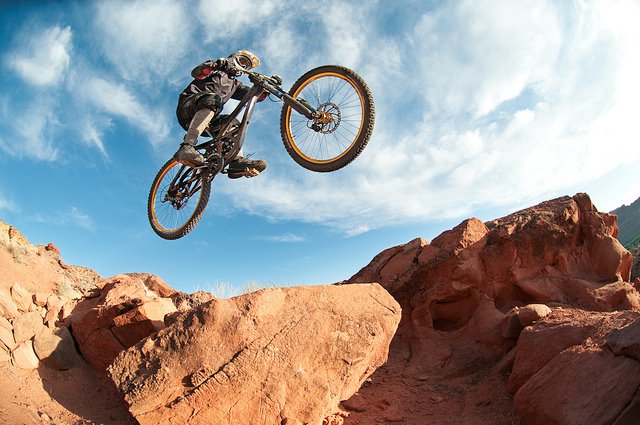
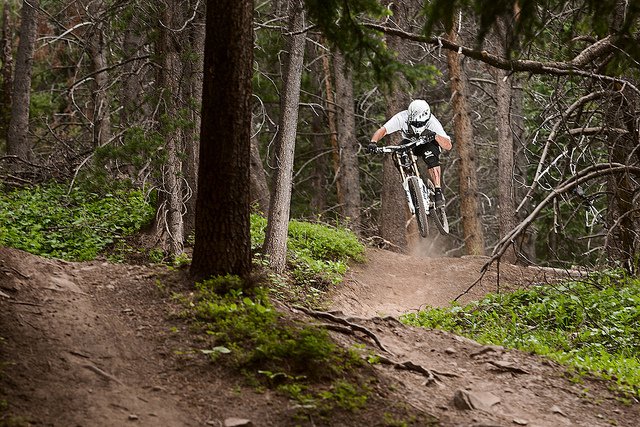
Jumps, cliffs, drops, gaps, basically any feature where a biker gets lifted off the ground makes for possibly the most exciting photos of all. The problem? Ensuring you capture something well the first time so that the athlete doesn't have to risk it all again.One of the most important things to capture in an air shot, is the ground. It may seem counter-intuitive, but by showing the ground you can actually reveal the size of the feature and what the athlete is doing. Without any ground you are just getting a guy in the sky shot, a style that quickly went out in the 80's.Try to compose to show not only the takeoff, or only the landing, but instead both. This tells the whole story, where the rider came from to get in the air, and where he plans on landing. It's especially important to show both when the stunt is massive so the rider has good evidence of his jump or drop.By getting in close and shooting a wide angle, you can truly show how intense the feature is. The wide angle will let you fit in the take off and landing, and when you get close the rider will fill up more of the frame. Compose so that the rider is not going to be in the middle of the frame for a more dynamic and exciting image. Usually it works best to have the rider jumping into the picture, rather than out of it.Another great approach is to choose a low angle. This gives that towering look of the feature and athlete and turns the intensity up yet another notch. When the feature is truly massive, don't be afraid to step back further to show everything. The size of the athlete relative to the feature will show everything accurately.Scenery can elevate a good shot into a great one. If there are big mountains in the background that look small with a wide angle, step back a ways and throw on the zoom lens. This will compress the scene and make the mountains look closer. It may make the feature look a little less exciting, but sometimes it's about finding the best tradeoff between beauty and intensity.When scoping angles try to think about showing the environment, mountain biking takes place in very cool locations, share these with the viewer!Focusing for jumps can be a bit tricky, but is usually a single focus setup. For a head-on shot, I like to focus on the takeoff, and then back the focus out a tiny bit in the manual setting. This way, the peak of the action should be perfectly in focus. From the side, it's easiest to lock auto-focus on the feature, and then switch to manual to hold it in place. These make the best sequences because the focus stays true and the athlete will be in a different part of the frame for each shot.Before you decide to send the athlete off the feature, make sure the angle is the best you can get! Walk around and take shots from numerous spots to decide what will look best. Just remember when composing to leave enough room for the athlete at the top of the frame, their body and head will be higher than you think most times and you don't want to accidentally crop it off!When you finally have the angle, let the athlete know! If you can't see them, have them give you a count down as they approach the feature from 3….2…..1….. Then nail the shot! If you have great images of biking airs, we would love to see them at the action photo school flickr page!


Comments