Last week NS published my introduction to backcountry ski gear for skiers with a freestyle or park background. This week, I’m covering some tricks, tips, and even “hacks” that can make your life easier as a backcountry skier.
These come from a variety of sources, most were handed down from touring partners, so a huge thank you to everyone who’s ever taken the time to teach me something new in the hills. Feel free to chime in with any of your own tips or tricks in the comments.
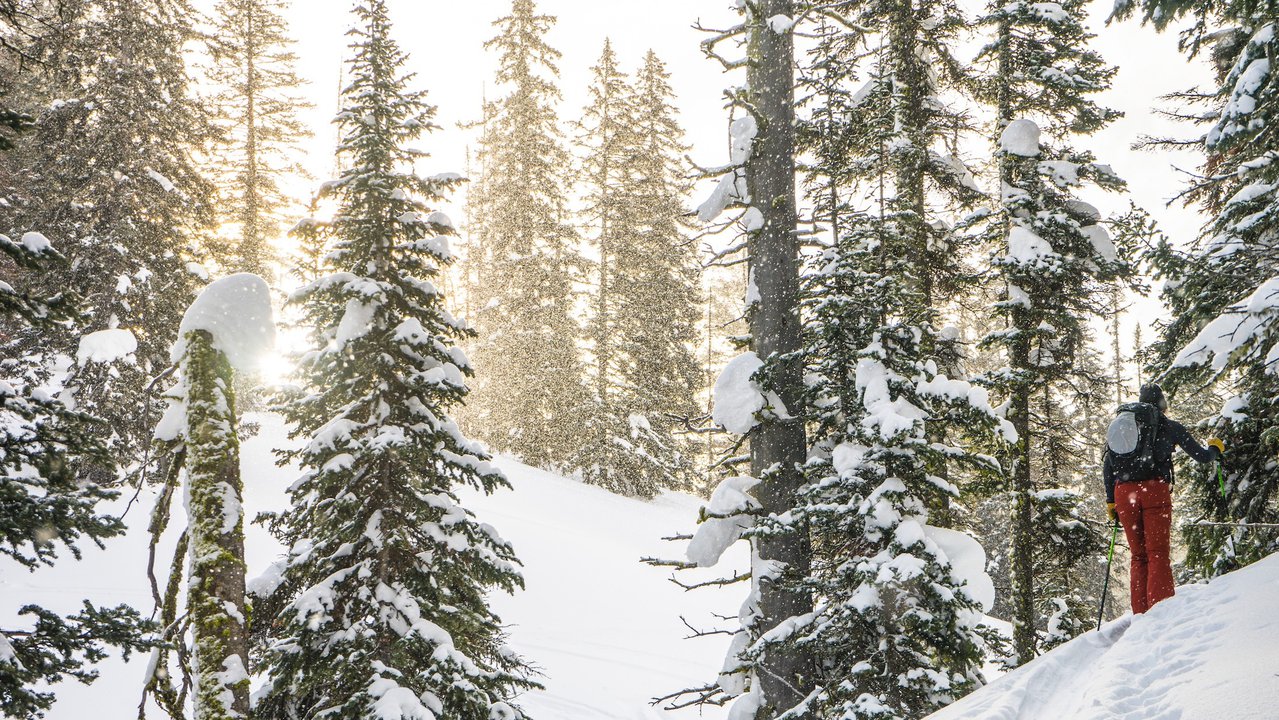
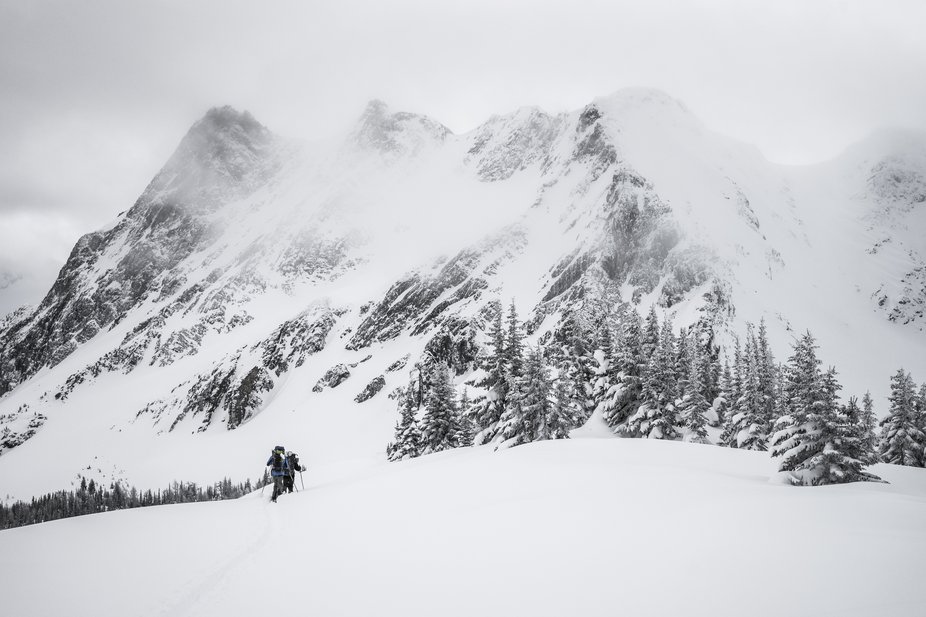
Skinning
Skinning is generally how you’ll spend the first part of your day in the backcountry. Here are some general tips that I’ve found to make skinning easier.
Turn On Your Beacon At Home
This one is a little weird, but it’s really paid off for me. I won’t go into the backcountry with a malfunctioning transceiver, and you shouldn’t either. Trailhead beacon checks are really good. But if that check does reveal something is wrong with your beacon, you’re sort of screwed. Nobody wants to drive home to get extra batteries or borrow a beacon. Instead, check that thing when you put your ski pants on.
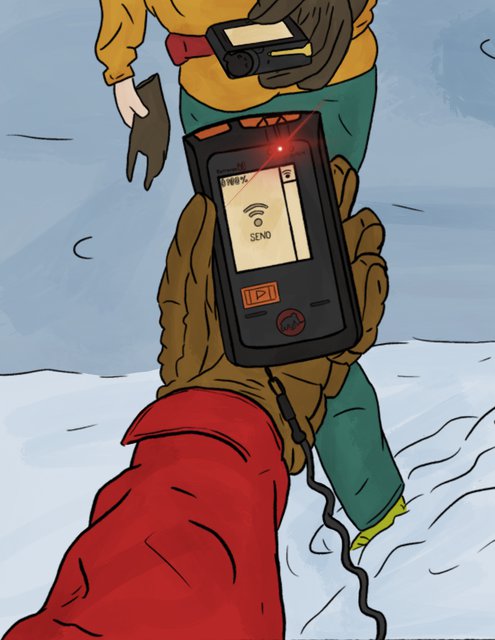
Even if the battery is just a bit low, it’s a lot easier to swap batteries in your kitchen than at some freezing trailhead. Last year I checked my beacon at home, realized it wouldn’t swap from “transmit” to “receive” and was able to borrow a friend’s. If I’d have found that out at the trailhead, I would have spent my day shuttling other skiers around.
Put Your Skins on At Home
This one is a no-brainer, but for some folks still don’t do it. If your day is going to start with a skin, put your skins on at home, in your living room. Nobody wants to stand around in a cold parking lot watching you try to put your skins on. I usually do this the night before. This also gives me a chance to go over my skis and bindings and make sure they’re all functional. Of course, if you’re starting inbounds, or with a sled tow-in leave your skins in your pack until you need them.
Be Bold, Start Cold
Pretty much every tour I’ve ever been on, the group has had to stop five minutes into the walk because somebody dressed to hang out in the parking lot, not walk up mountains and needs to shed a layer. You’re going to be moving for most of the day, dress accordingly. You should feel a little chilly just standing around, so that when you’re moving and generating warmth, you don’t overheat.
Bold? Check. Cold? Check.
Use Those Heel Risers
Those little heel lifter lever things? They’re not dead weight. They’re actually one of the best tools available to help you get up steep skin tracks. Use them as soon as it gets steep enough that you feel any kind of tightness in the back of your calf or knee. Don’t try to muscle through without risers. That’s stupid. Risers are there to make a steep, icy skin track into a manageable staircase. Use them before you’re panicking and save time and energy.
Kick Turns
Kick turns are the bane of a novice skinner’s existence. This is where people generally fall apart. Just like any other kind of turn on skis though, it’s a skill you’ll gradually acquire until they become smooth and easy. Here are a few tips I’ve found though.
Go past the apex of the turn
It’s tempting to stop at the pointy part of the kick turn and try to turn there. Don’t do it. Skin past it until your tails are at the apex of the turn, then plant your poles securely and make a big old turn down into the skin track. It’s much easier to make the turn when you’re stepping down into the track, instead of trying to shuffle up into it.
Get in the back seat
Skiers are supposed to avoid getting in the back seat at all costs. But on icy skin tracks, it actually helps create more traction to get back and push into your heel risers. This creates friction points with your skin on the snow just behind the binding that will keep you from sliding back. Instinctively you want to lean forward onto your toes on icy tracks. Don’t do it! This takes all the traction away from your skin and leaves you with a face full of ice.
Kickturns got you feeling down?
If all else fails, leave the skin track
It seems counterintuitive, but sometimes the icy skin track is the hardest place to be skinning on a slope. If a section is really giving you trouble, consider going a little higher or lower than the current track and breaking trail. You’ll often have better traction and a less blown-out track. Don’t feel bound to the skin track that could have been put in by a complete idiot, feel free to make your own way.
Transitions
Transitioning from skinning to skiing, or vice versa, is a complicated process that can take beginners way more time than it should. And a bad transition can mean dropping into a committing line with your boots in walk mode. So here are some ways to smooth out your transitions.
Move with Purpose
Transitions aren’t a race, but there’s no reason to stand around BSing while there’s pow to ski. So have a plan, and stick to it. This is not the time to scratch your butt and tell a rambling story about this girl you used to date. You have a goal, skiing or skinning, move toward it with purpose.
Create a Routine
The number one way to get better at transitions is to create a plan, and stick to it every time you transition. That way you’re not skipping steps. It also helps you move more efficiently. Here’s mine for transitioning from skinning to skiing. Notice how I try to group actions that work together efficiently.
-Take off pack
-Shell on
-Helmet and Goggles on
-Buckle boots
-Lock boots in ski mode
-Lock binding heels in ski mode
-Unlock binding toes from walk mode
-Rip skins
-Swap skinning gloves for skiing gloves
-Skins and skinning gloves in pack
-Pack on back
-Shorten Poles
I do all of my boot and binding tasks at once. That way I’m only bending down once to deal with that stuff, and I’ve created a routine where I automatically tighten my boots, put them in ski mode, and unlock my binding toes (all things that people often forget to do) without even thinking about it. Create a routine, practice it at home, where it’s warm, and get it dialed so that you can do it quickly and automatically in harsh weather.
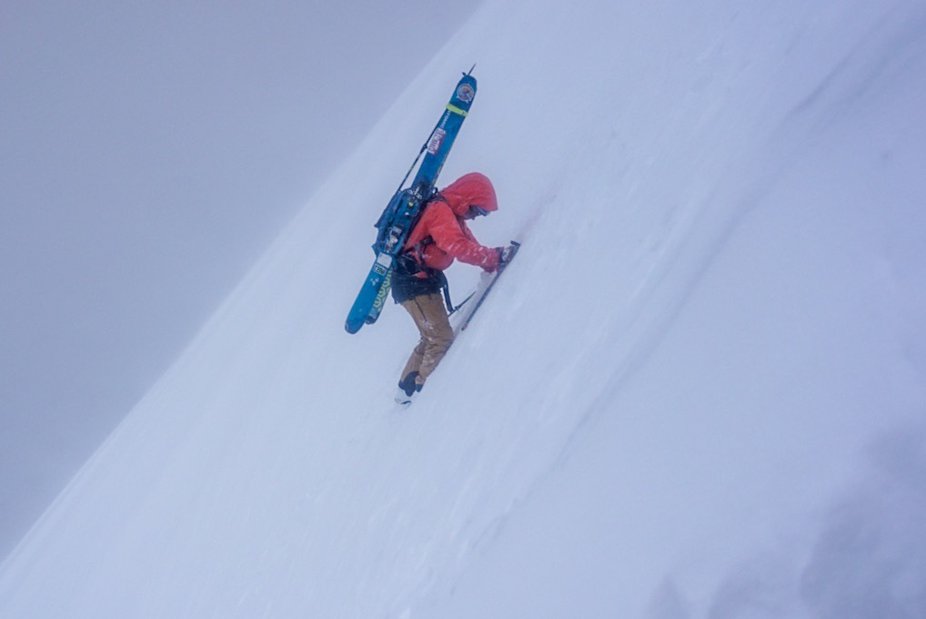
You don't want to drop into something like this in walk mode.
Rip Skins With Your Skis On
This one is irrelevant if you’re on Shift or CAST, but if you’re using a binding that you don’t have to take off to transition, then don’t take off your skis. It’s way faster, and easier once you’re good at it. The key is to put your boots in ski mode and lock your heel down first so that it’s easier to create leverage to rip your skin with your ski still on. That way you’re not wallowing in deep snow and having to clear your bindings every time you transition. This one takes a lot of practice, it’s so worth it though.
Only Ever Take Off One Ski at a Time
Many of us tour to ski powder. The thing about pow though is that it’s nearly impossible to move around in with your skis off. So many beginners pop both skis off, and immediately sink in to their waist. This makes transitioning take longer, and makes it really hard to get your skis back in. Instead, take off one ski at a time, and take the skin off, (or put it back on) before you put that ski back on and transition the other one. The only reason to ever take both skis off at once is if you’re stopping for a picnic and a beer with a view. Otherwise, save yourself some effort and keep one on at all times.
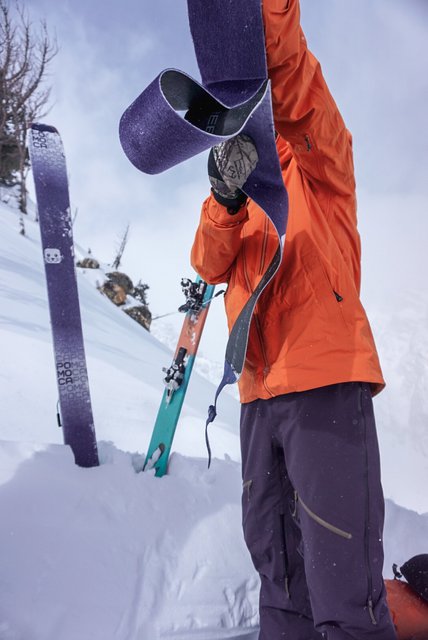
Skins
Climbing skins are a very valuable tool for getting around in the backcountry. But they can also be very frustrating to folks just getting into backcountry touring.
Dealing With Too-Sticky Skins
We’ve all been there, frustrated at a transition with a skin that’s too stuck to itself to unstick and put on the ski. Here are a couple of tips to help with that.
-If you can’t pull the skin apart using just your hands, take a ski off, and stick the tip clip over your tip, then use both hands to pull the skin down onto the ski, and apart from itself. This technique allows you to use both hands and your body weight, instead of having to rely on forearm strength that many skiers are lacking.
-Don’t fold the skin glue to glue at transitions. Many nylon skins can be folded or rolled with the glue side facing a plush side. That way there’s no sticking or unsticking to be done. Just make sure there’s nothing loose in your pack that can get stuck to the glue. You don’t want to be pulling pretzels out of your skin when you get home.
-Use skin savers. Skin savers are little mesh strips that you can place between your folded skins to separate the glue. They’re not great for long term glue storage, but are fine to use all winter. Personally, I always try the other techniques first. It’s hard enough to fold your skins on a windy day without dealing with skin savers too.
My Skin Comes Off My Ski Every Few Laps
Some skins have suckier glue than others. If you have crappy skin glue that has a tendency to come off often, you can either buy new skins with better glue, or take a little more care at transitions.
Skins generally come off your ski because of snow ingress. Basically, snow gets under the edges and works its way between the skin and the ski so the glue doesn't stick anymore. The best way to guard against this, is to make sure that there’s no snow or moisture on your bases when you put your skin on, and that you clean the glue of your skin every time you transition. You can clean and re-activate that glue by holding either end of the skin and rubbing it back and forth over your ski edge like you’re flossing.
You can also cut back the tips and tails of your skin with longer angles. Sharp corners are more likely to get snow under them than smoother shapes.
Snow Is Sticking to the Bottom of My Skins
This is called “glopping” and it sucks. There are a few ways to guard against it. First off, wax your skins. Good ski shops will carry a bar of skin wax that you can simply rub on. It keeps snow from sticking to your skins, and will also help them glide better. I’ve found that a well-waxed Nylon skin can glide better than a rarely-waxed Mo-Mix one. I wax my skins every 3-5 tours.
If you forgot to wax your skins and are getting glopping out on a tour, sunscreen can also work as skin wax in a pinch. Clear your skins of snow and rub some on there.
Dry Your Skins
Most skin problems are exacerbated by moist skins. Take your skins out of your pack after every tour and hang them somewhere warm and dry. Moist skins stick worse and glop more. Also they smell terrible.
Boots
Touring boots really come down to fit more than anything else, that said, here’s some tips I’ve found.
The Full Tilt Walk Mode
Back before Full Tilt made a boot with a walk mode, I toured a bunch with Full Tilt Konflicts. And there’s a technique that made them walk smoother, that also helps the new Ascendant, or any other three-piece boot gain a little range of motion.
Open the tongue of the shell all the way, and buckle your buckles loosely under the tongue but over the liner. Cinch down the middle buckle over your forefoot/ankle area pretty well, but leave the others loose. Then flop the tongue back over and use the power strap to hold it down, with as much slack as you can give it.
You’ll gain a bunch of forward range of motion, even on boots with the “block” style walk mode like an Ascendant or Roxa R3
Don’t Open All of Your Buckles All of the Way
A lot of people assume that they should open all their buckles wide when skinning to get as much range of motion as possible. That may work for you, but it’s often a recipe for blisters. Instead, I recommend opening the top cuff buckles and power strap all the way, but keeping the lower buckles, and any ankle buckles a little tighter. This keeps your foot from rubbing in the liner, and also gives you more stability on sidehills. Give it a shot and see what you think.
Food and Water
I’m no nutrition expert, but I’ve found that when working hard in the cold, it’s hard to remember to eat and drink enough. I fight that by always having one exterior pants pocket uncomfortably full of snacks, so that I eat just to get the bulk in my pocket down. I have a mix of sweet (candy), sour (also candy) and salty (usually salami) so I can fill any craving.
Not an ideal snacking location
For water, recently I’ve been using a soft bottle hung from the waist strap of my pack. That way it’s easy to access without taking my pack off, so I can take a few sips every time the group stops. It looks dorky, but it really helps me stay hydrated. Then I throw it in my pack for the way down. Camelbacks have a tendency to freeze, and if you blow the water back down the hose every time you take a sip, the hose can get really nasty and disgusting. So I stay away/
Special Accessories
Ski Straps
Ski Straps, Voile Straps, Heli Straps, call them whatever you want, I never go on a tour without at least five or six. They can fix most problems you’ll encounter.
I also recommend always having one in a pants pocket or just wrapped around your pole. You never know when you’ll need one, and it’s really nice to be able to grab a strap without having to dig in your pack.
Phone Stuff
I use my phone with Gaia GPS for navigation a lot. But if it dies, I’m out of luck. So I do my best to keep it warm, a beer can koozie in your pocket provides a lot of insulation. Personally, I sewed a custom insulation and space blanket lined pocket into my ski bibs.
A cheap Amazon battery bank also provides backup power.
Atomic Bent Chetler Poles
I’m hooked, and it’s going to be hard to convince me to use anything other than the Atomic Bent Chetler pole. They have a pozi-drive and flathead screwdriver hidden inside and I can’t believe how much I’ve used them, in and out of bounds. The pozi is easier to use than one you’d get from the hardware store, so binding adjustments are really easy.
Big Sunglasses
Pit Vipers, fast glasses, whatever you want to use, I’ve been shocked at how great a big pair of shades is. They keep sun and wind out of your face, and you can even ski in them. Huge fan, never going back to small sunglasses.
Med Kit
I’m no medical professional, but I try to be over-prepared with my med kit. Here’s a list, make yours based on where you ski, and your own medical skills and knowledge.
-SAM Splint (weighs nothing, can also fix a broken boot in a pinch)
-Vet Wrap (for me, or if I ski cut the dog)
-Ibuprofen
-Bandaids
-Wrap
-Blister tape
-Quick Clot
-Leftover painkillers
-Medical shears
-CPR Mask
-Surgical Gloves (also can keep hands surprisingly warm in a pinch)
Toilet Paper
Does a skier shit in the woods? Hopefully not, but if you have to, it’s really nice to have TP.
Tools
Backcountry skiing is the most efficient way to get around the mountains in winter until your gear breaks.
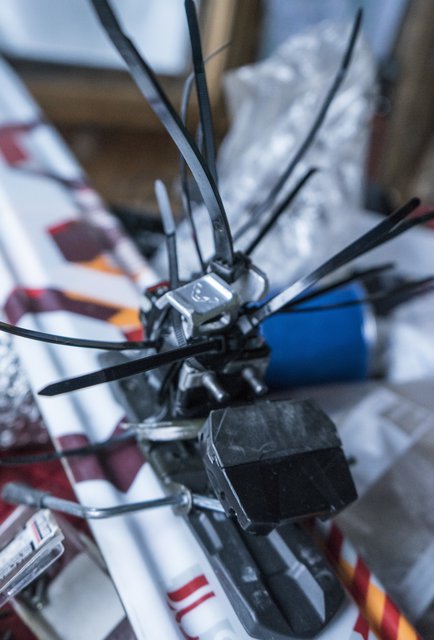
You can never carry too many zip ties.
Having the tools and parts to fix common problems can really save a day. Here’s what I carry:
-Gorilla Tape (8 feet, wrapped around my ski pole just below my grip)
-More Zip Ties than I think I need
-Extra T-nut and screws (sometimes ski buckles fall off and you loose the screw
-Leatherman with huge bit set (this thing is heavy, but I have all the bits, just in case someone needs a weird hex to tighten a boot buckle, or torx on an old binding)
-Skin Wax
-Super Glue
-Upholstery needle and thread (fix a pack or outerwear tear quickly in the field)
-A couple of different lighters
-Spare headlamp
-Spare batteries (double and triple A)
-Half a bike tube (great firestarter)
So there you have it! Anything I missed? Let me know in the comments!
Comments