 Empty, head high waves break consistently across the beach. No one but a couple buddies are in the line up. I catch every wave for which I paddle. It feels like heaven, except to the muscles in my shoulders and back.
Living on the wrong side of Vancouver Island my body is not surf fit. I make the pilgrimage to the west coast every couple months, but that's not enough to keep the body in paddling shape. With nothing to do on this boat-access-only beach but surf, the tendons and muscles in my shoulders, neck and back crunch and grind by day three of our backcountry odyssey. I could use a nice, long soak in a hot tub. It's time to do some digging.
The crudest backcountry tubs fill some kind of container with water and are heated by dropping fire-warmed rocks into their depths. This method works well, but is labor intensive and—needless to say—picking up and carrying smoking hot rocks has serious risks.
Since the fourth century BC, humans have known about the health benefits of hydrotherapy, essentially soaking in warm water. Roman legions built baths all over Europe during their occupations. Using natural hot springs and mineral pools was the first step, but soon we began making our own soakers, carving out rocks, filling them with water, and then fire heated stones. By the 1940s, jacuzzi style hot tubs began to appear in the U.S. and the art of DIY faded. Luckily, the knowledge was not totally lost.
The crudest backcountry tubs fill some kind of container with water and are heated by dropping fire-warmed rocks into their depths. This method works well, but is labor intensive and—needless to say—picking up and carrying smoking hot rocks has serious risks. A safer method uses flexible copper pipe, a campfire, some old garden hose, and the benefits of thermodynamics.
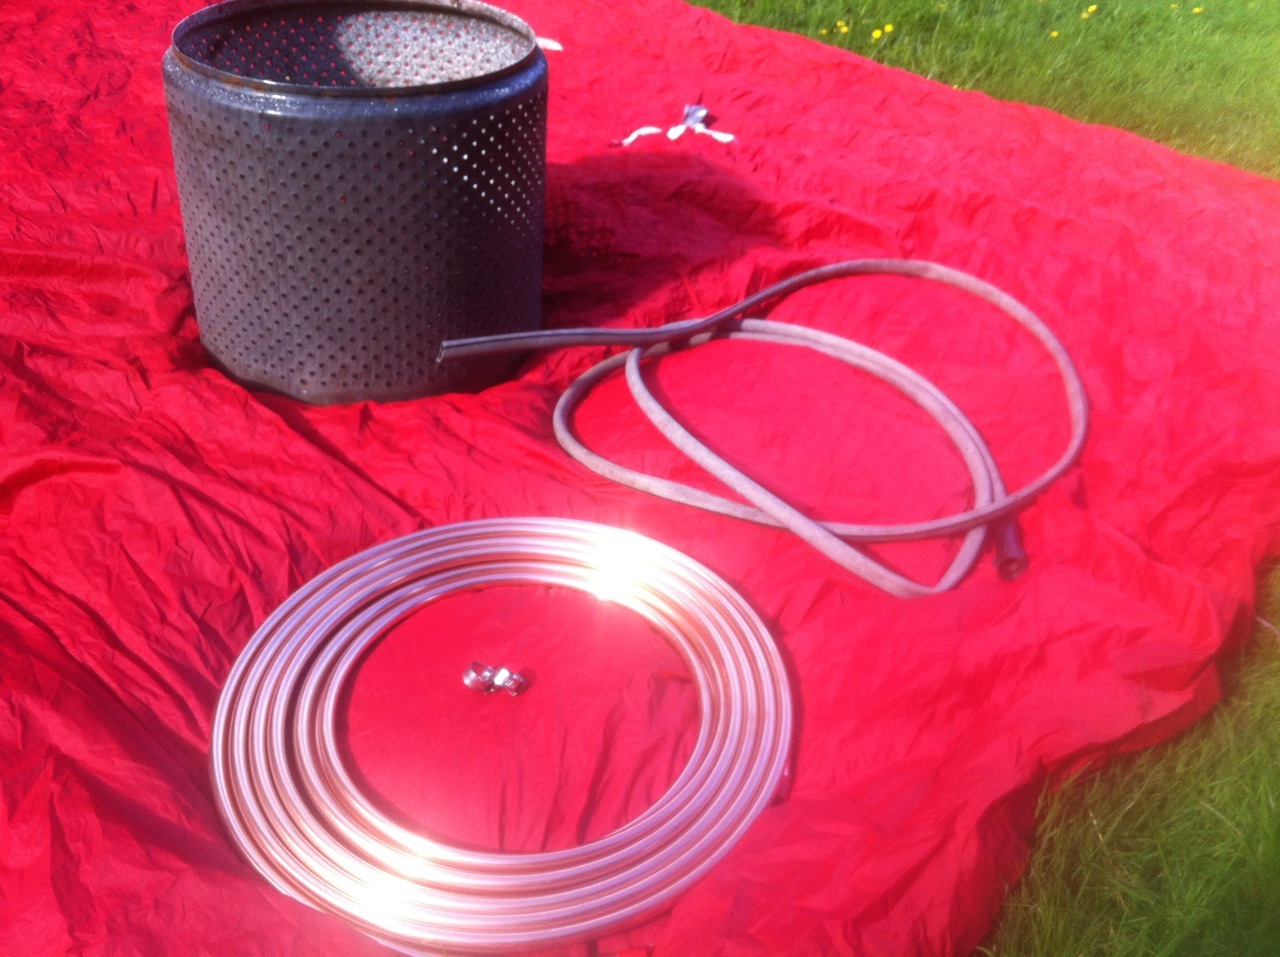
To build your own dirtbag hot tub, you’ll need a few basic items:
30 to 50 Feet of 5/8 or 3/4 Inch Flexible Copper Pipe
This comes in rolls available at plumping supply stores and costs about $2 per foot. You can also check metal salvage yards for scraps. The longer the section of pipe and the larger the diameter, the faster the hot tub will heat up.
10 Feet of Old Garden Hose
Matching the inside diameter of the garden hose to the outside diameter of your copper pipe will make life easy, eliminating the need for connectors and soldering.
2 hose clamps

Tarp or Tub
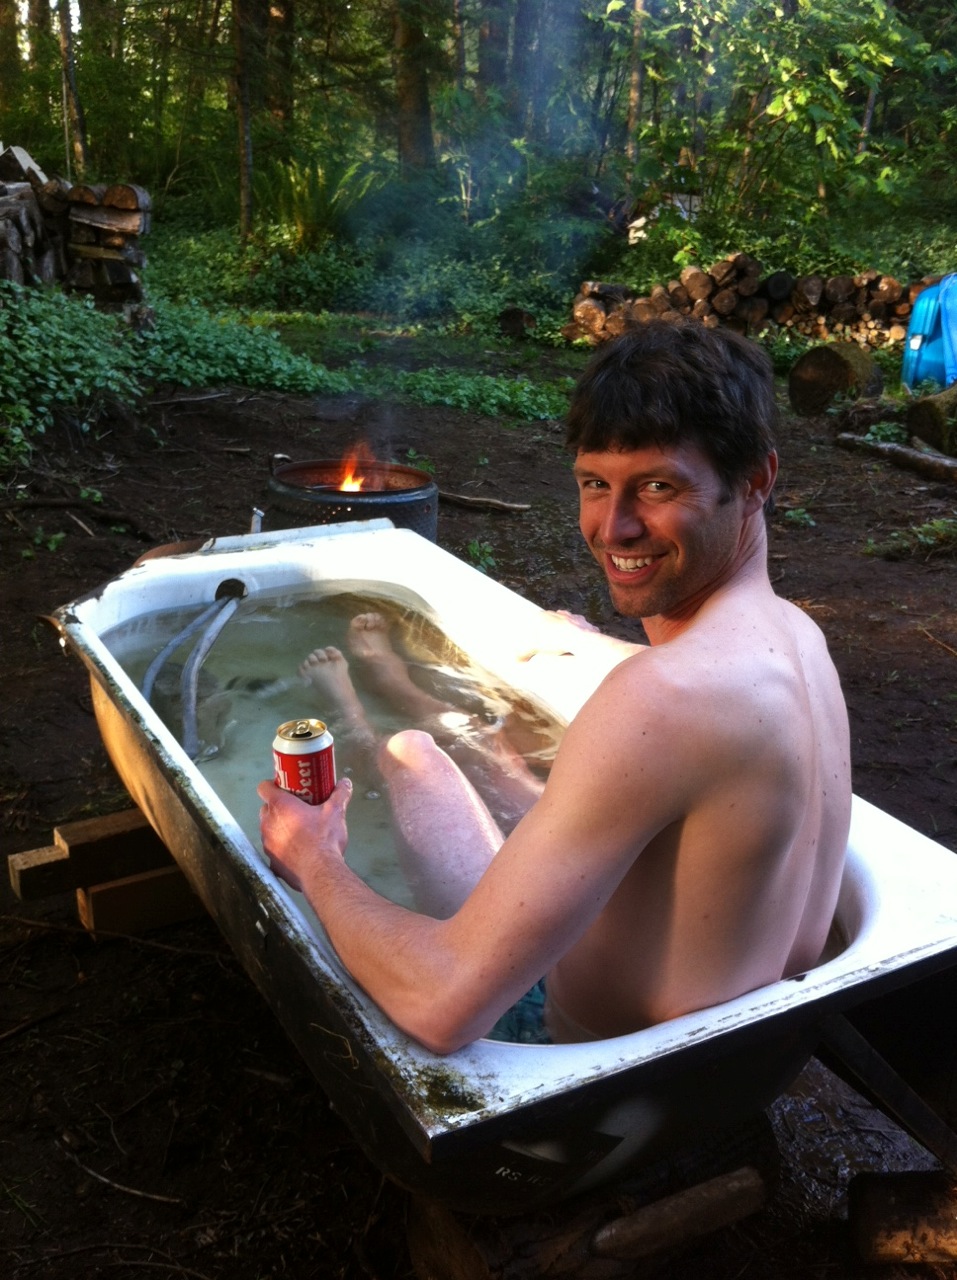
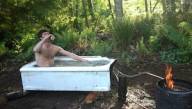
In the pictures we used an old bathtub that we found lying around, but anything that can hold water works. On a beach we dig a pit just deep enough to lie in and line it with a tarp. Remember the more volume of water the longer it will take to heat.
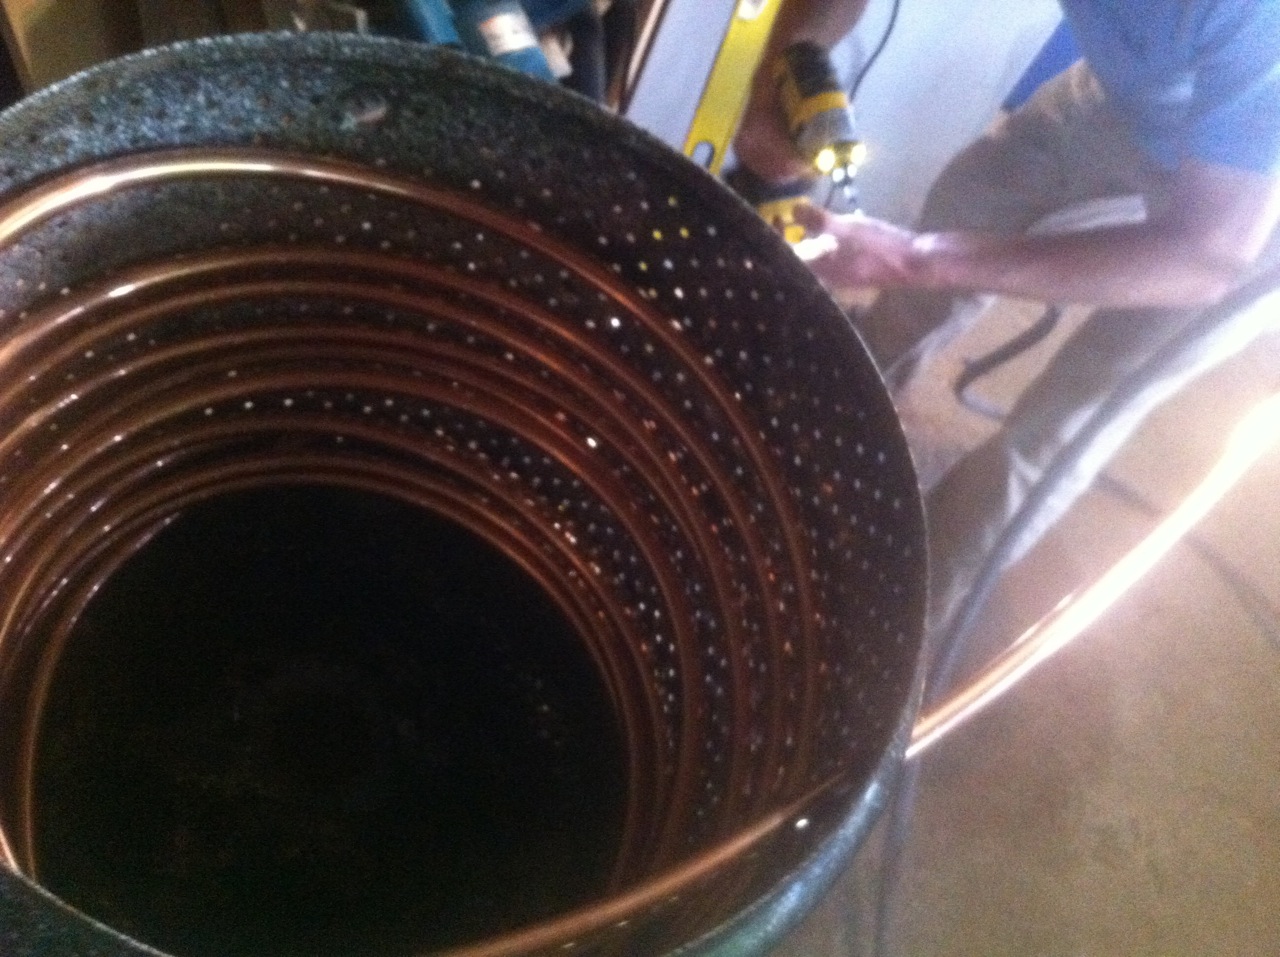
A Campfire
You want at least two hours worth of wood. We use an old washing machine drum to contain the fire and increase its heat. An old oil drum works well too, but really any old campfire works.
What to Do
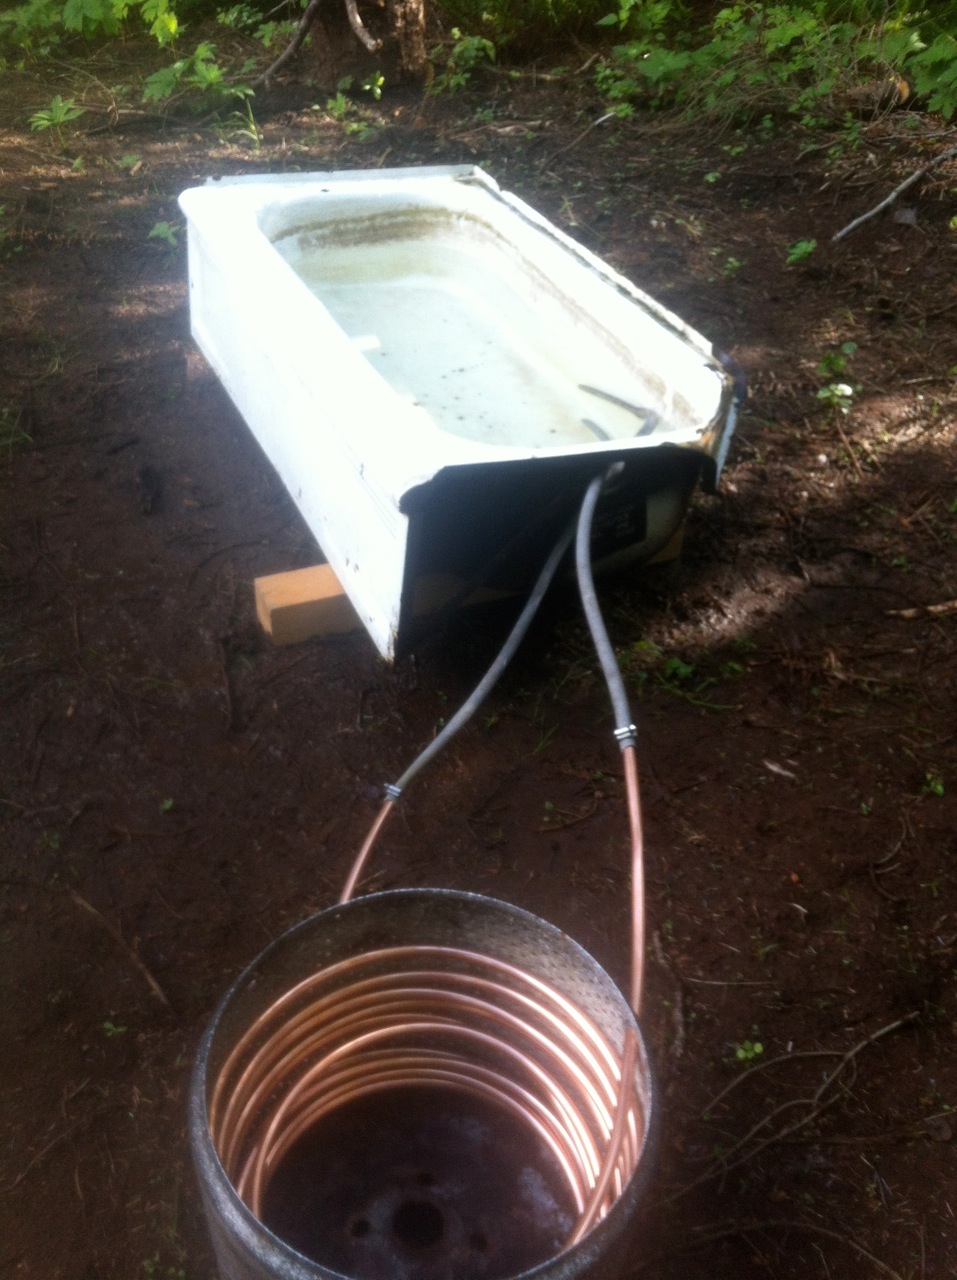
1. Pick your site. Somewhere with easy access to water is best. On a beach you could divert a stream into a pit or let the tide fill it for you. Bucket filling is an option but it's a lot of work. And as long as you're allowed to have open fires in your neighborhood, there's no reason why you can't do this at home by filling your tub with the garden hose. You need room for a fire within a few feet of the tub and the system works best if the fire is at about the same height as the tub.
2. Sort out your pool. Either dig a shallow pit and line it with a tarp or use some other water-tight vessel. Fill it with water.
3. Straighten a few feet of the copper pipe on either end of the coil. Do it slowly so you don't kink the piping, which can lead to leaks. Make sure each “tail” is the same length and long enough to clear the fire by a few feet.
4. Attach the garden hose. Cut the garden hose into two pieces that are long enough to reach from the end of the copper pipes and into the tub. Slip a hose clamp onto each end of the copper pipe and then slip the garden hose over the copper, securing and sealing it with the hose clamp.
5. Fill the system. Pour water into one of the sections of garden hose until water comes out the other. You need to make sure the copper pipe is full of water before starting your fire—empty pipe can melt. Now submerge the garden hose and keep it in the water at all times.
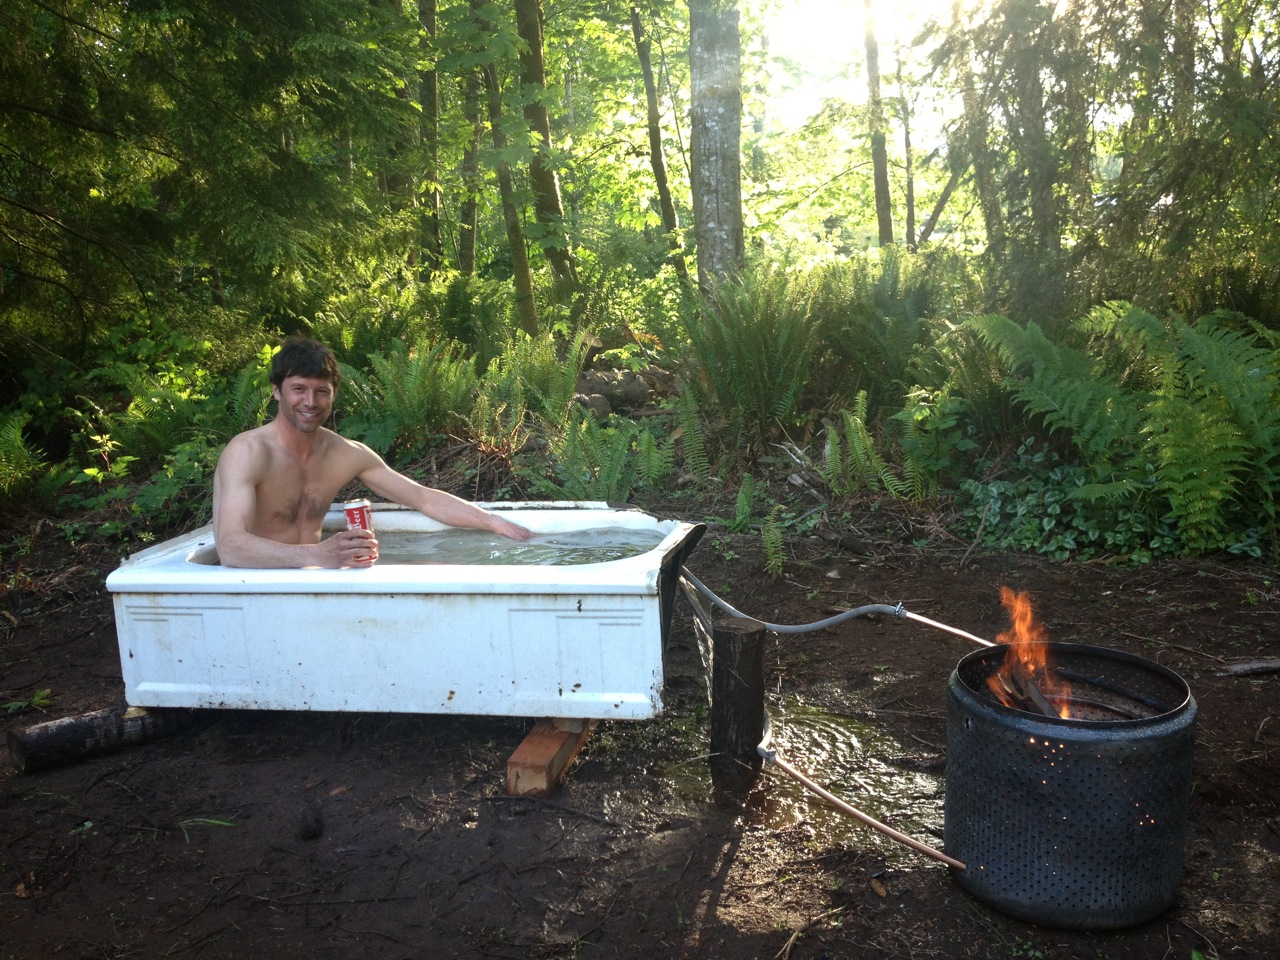
6. Light the fire. Build a fire all around the coil of copper and keep it well stoked.
7. Wait. How long it takes for the water to heat up depends on the size and length of the copper pipe, the heat of the fire and, most importantly, the volume of the tub. Fairly quickly you should notice warmer water coming out of the hose feeding from the top of the coil.
8. Enjoy. Crack a beer, put on the Speedo, and get soaking. Take pride and enjoyment in this warm bath in the middle of anywhere.
How it works:
For all you nerds out there, this water heating system benefits from the fact that warm water is lighter than cold water. As the fire heats the water in the copper coil, the warmer water moves upward through the system. This forces hot water out the top of the coil and into the tub, creating a vacuum that sucks cold water from the tub and into the bottom of the coil. The new cold water heats up and begins rising up the coil, pushing more hot water out and sucking more cold water in.
Things to Note:
To maintain this system of suction, the two garden hoses must stay submerged in the tub at all times, otherwise air enters the line and ruins the suction. Keeping the fire, tub, and pipes as close to the same elevation as possible works best. The thermodynamic pump will struggle to push water up a large change in elevation. You can add a small pump to the system to speed up the process or to combat a larger elevation change. It eliminates the need for the thermodynamic pump, but still allows the water to heat up in the pipes sufficiently to warm the tub. Without a pump, the water will most likely come out of the pipes in pulses rather than in a consistent stream.
Caution:
The water coming out of the pipes will become very hot—perhaps even boiling hot. Keep the “hot” garden hose away from piggies when soaking, so you don't get burned.
From The Column: The Dirtbag’s Guide to Getting Shit Done
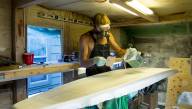
DIY Surfboards - The Dirtbag’s Guide
Fixing a Flat - The Dirtbag’s Guide
Building a Backcountry Hot Tub

8 Cougar-Hunting Tips For Mountain Town Newbies

The Ultimate Guide To Setting Up Your Own…
__video_thumb.jpg)
The 6 Things You Need to Survive Ski Town…

Extreme Home Makeovers: 4x4 Edition - The…

Surviving the Off-Season - The Dirtbag’s…

Finding Road Trip Partners - The Dirtbag’s…

Summer Road Trips - The Dirtbag’s Guide

Urban Camping - The Dirtbag’s Guide
About The Author
stash member Ryan Stuart
Telemark skier, single speed mountain biker, stand up desk user - yeah, I like doing it the hard way.
Shewie
October 21st, 2020
Is there a way to design this with a valve to stop the flow of hot water? Or would the stalled water in the copper pipe risk the pipe melting?