Alright NS, I’ve done a couple of this style of Photoshop
technique and have been asked how to do it so I’ll do a tutorial for you guys.
So for all you photoshoppers I have a simple, yet great effect for you to learn to day.
Level of difficulty: beginner-intermediate
If you’ve done this manipulation effect before, you know the
power and endless possibilities with this technique. If you have yet to attempt
it give it a go.
Goal: To Photoshop a picture to make it look as if it is a
miniature model
Ex) model town, plane building etc…
Basically to start off you want to have a picture,
preferable of landscape. Macro shots and nighttime shots, do not work as well
with this technique as focal points of the image are important and are harder
to contrast from unfocused parts of an image in nighttime shots. Don’t worry
Newschoolers if you don’t understand now, just read on and follow the steps,
and you will catch on.
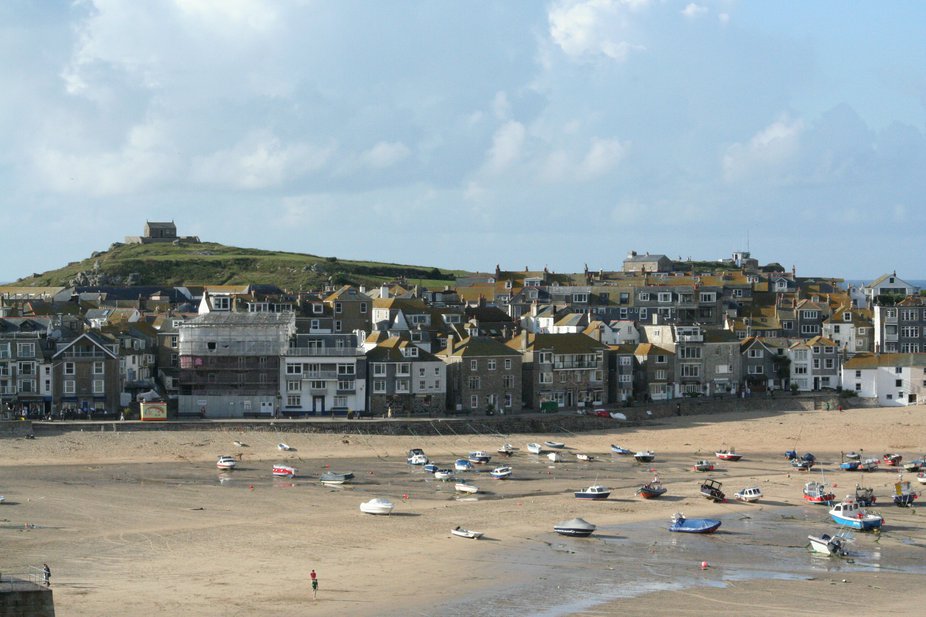
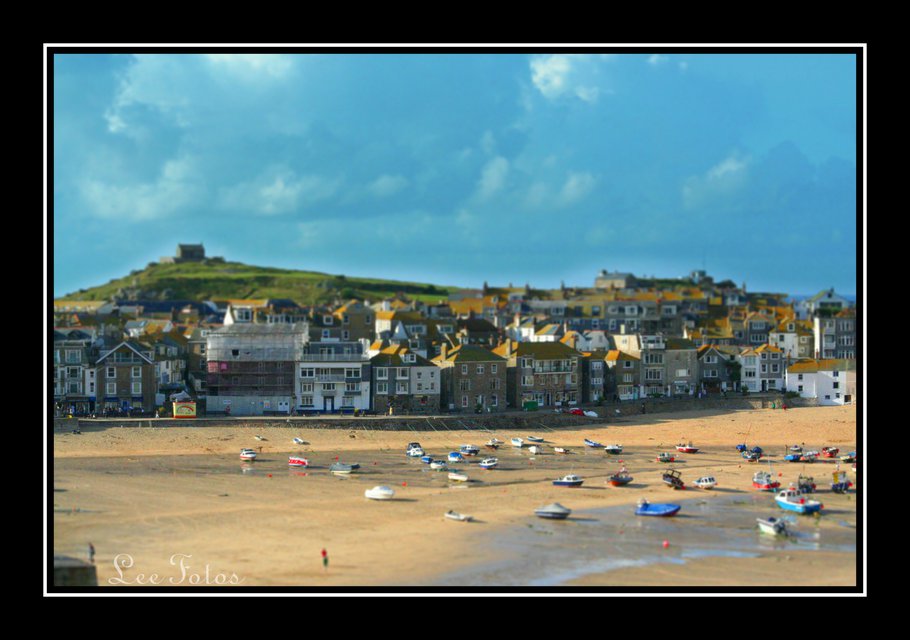
If you personally don’t have a landscape photo, simple save
and open my original image (IMAGE) and try it out. Image above
For the tutorial you will need to understand the concept of
quick mask mode in photoshop ( Windows/Mac: q). Basically what quick mask mode
allows you to do is select a portion of the image by “painting” on a mask by
painting an area of the image you would like to have selected. This allows for
more specific and precise selection of an image rather than using the Lasso,
Polygonal, Magnetic tools or any of the marquee tools.
When your image is open you are going to want to open quick
mask mode by pressing the Q letter. Confirmation of this action can be seen at
the top of the Photoshop window beside the name of your open image, it should
read (Quick Mask…) Next set the colours to the default black and white by
pressing the D letter, then switch them around by clicking on the double-headed
arrow next to the colour chips.
Then select the gradient tool from your tools pallet. See picture below:
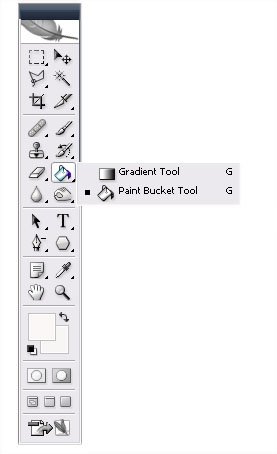
Now right underneath options on the pull down bars such as
“filter”, “select” and “view” there should appear several small rectangles with
different sports of black and white. Select the fourth rectangle from the left,
called “Reflected Gradient” which looks like a white line with black borders on
the top and bottom.
This is where a bit of choice and judgment come into play.
Choose where you want the focal point of the photo to be – usually about
halfway between top and bottom – and click and hold at that point. Drag
the line of the gradient tool upwards, then release it towards the top of the
frame; it doesn't hurt to be a little off the pure vertical. Press Q again to
switch back from Quick Mask mode.
Now your page should have a selected area with the moving
dotted line, showing where your selection was made. Next click on the “Filter”
drop down menu at the top and select “blur” then select “lens blur” and a
window should pop up. Play around with the sliders until you are satisfied with
the results. See picture below:
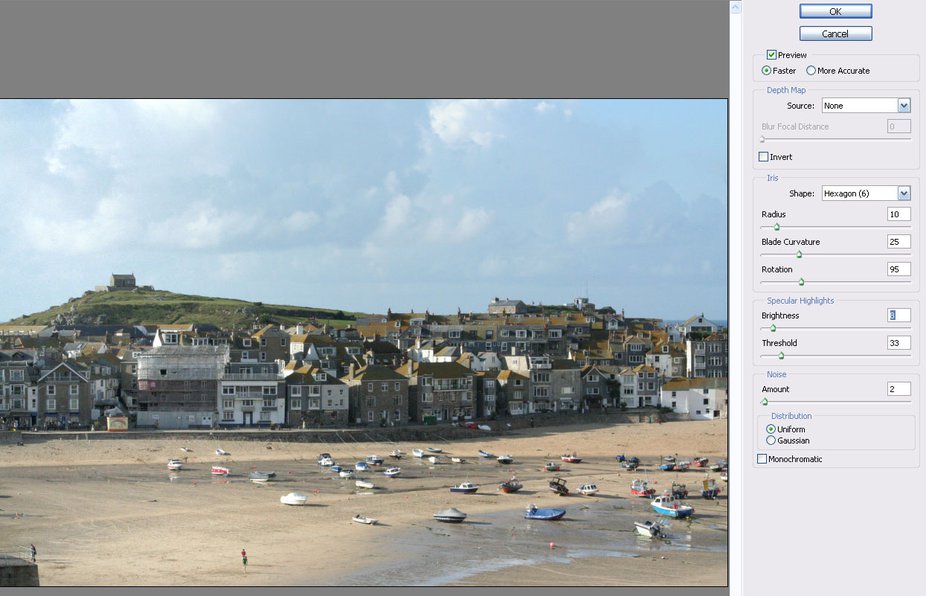
“The Iris section controls the shape of the virtual iris in
the lens; a hexagonal iris is most normal, and you could try rounding out the
sharp corners of the geometric shape using Blade Curvature. Rotation controls
the angle of the hexagon. The Specular Highlights section adds little glints to
bright areas, but it's usually not a good idea to drop the value of the
Threshold much below 250”
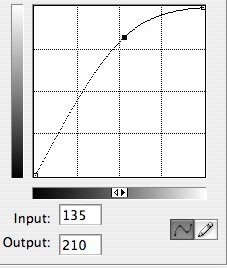
Your almost done newschoolers just one more step. Although
this step is not necessarily needed it is highly recommended to give you photo
that plastic fake model feel to it. To do this go to the “Image” drop down bar
at the top left of the window and select “adjustments”, then “curves”. (See picture below) Drag
from a point about a third from the top of the line upwards about a full
square, and voila! You are done, not so bad eh newschoolers.
Of course if you want you can further do colour correction
of the image to make it look oh so much better.
This was my first Photoshop tutorial, and hopefully you
were all successful….post up let me see what you were able to achieve….show me
where I went wrong…I love to learn.
Here is what the final copy turn out as:
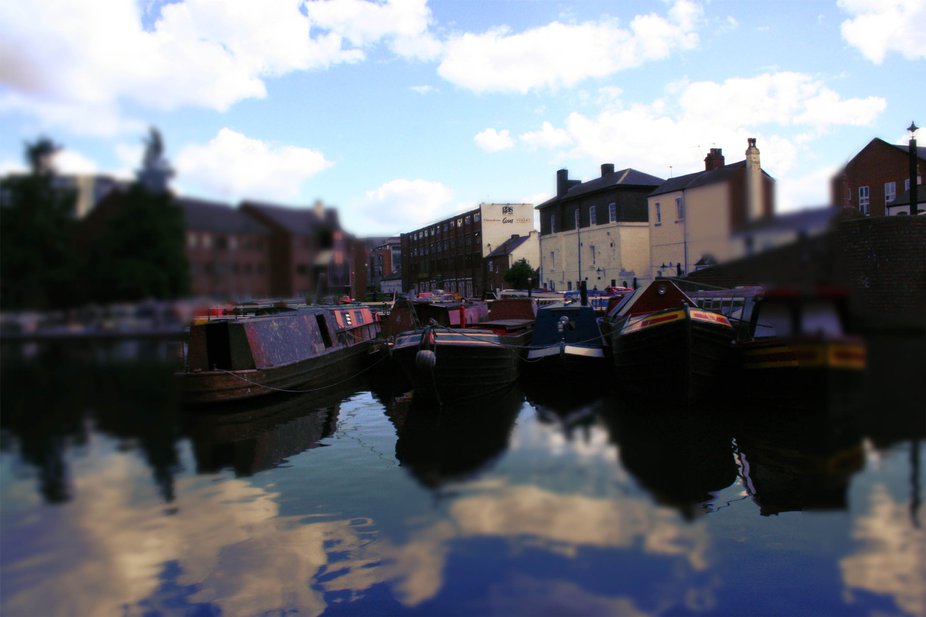
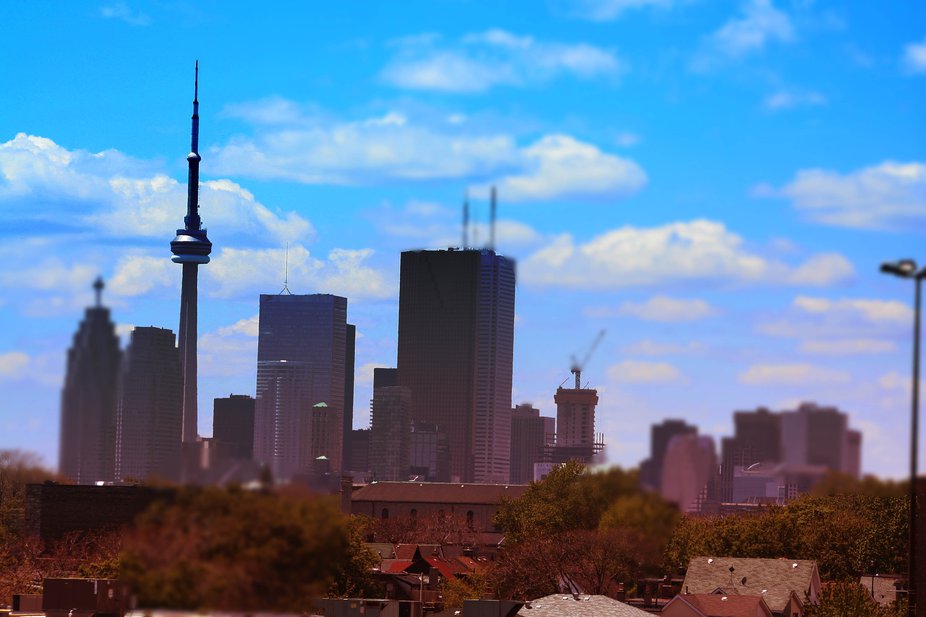
Some other photos i have applied the same technique to:
Comments