
It seems to be the natural progression of a ski for me: edge crack -> edge ripping out -> water gets to the core -> demoted to street ski -> ski dies.
Every ski shop i've been to says they can't fix it, but is way too eager to sell me new skis.
But last season I when the process began again, I did some ski surgery that held up surprisingly well and significantly increased the life of my ski. I've don't it several more times since, all with good results.
TOOLS YOU'LL NEED:
//updated to include screw size
Razor Blade
Scraper
Clamps
Screw Driver
Brass Brush (optional)
Small Drill Bit
Tiny Wood Screws - Brass is preferable (I used #2 x 1/4" http://www.amazon.com/gp/product/B004W05UJU/ref=oh_aui_detailpage_o04_s00?ie=UTF8&psc=1)
Dremmel Bit
JB Weld
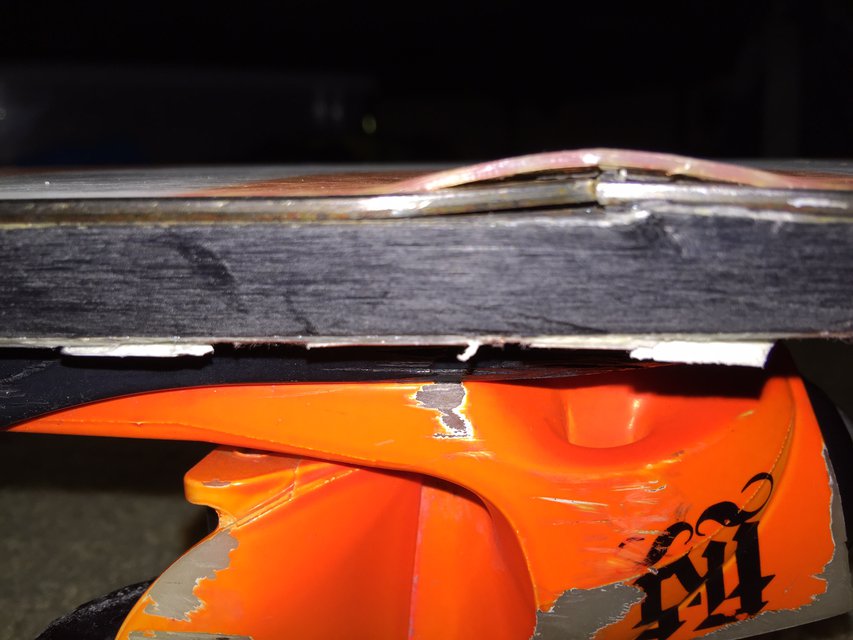
THE DAMAGE:
This time, I caught the front of a rail on a switch lip. The rail broke my edge and pushed both sides in under my base.

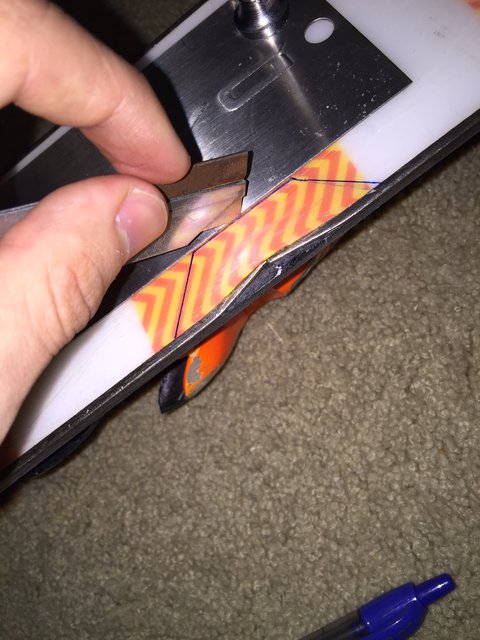
STEP 1:
Use the razor blade to cut the base out around the broken edge. I use a scraper as a straight edge while cutting because getting a clean cut here will make everything fit back together much easier later. It takes some effort to get all the way through the base- they're made to resist this kind of thing.
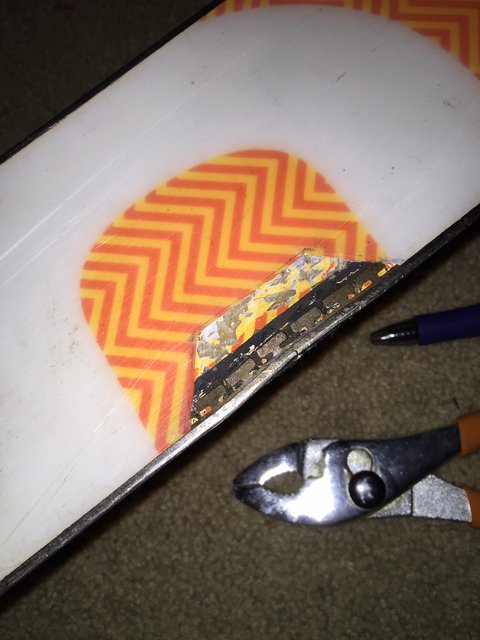
STEP 2:
Peel / pry off the pice of base you just cut using a flathead screw driver or knife or whatever. You may or may not be able to keep the base graphic in tact. Scrape deep with your prying tool while you're getting the base off if that's important to you.
Once the base is off, I used a brass brush from my tuning kit to get all the loose shit out of there.


STEP 3:
Get the edge back in place. I don't have pictures of this process, but its one of the more crucial steps. This time, I used a hammer, screwdrivers, and clamps as levers and fulcrums to bend the edge back and was very careful to not over correct and rip the edge out further. Other times, I've only needed a clamp.
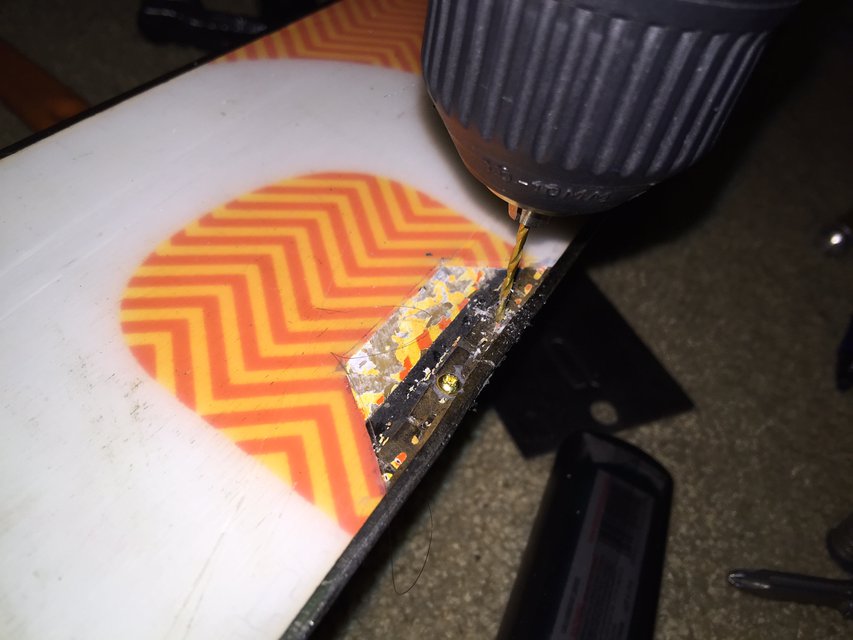
STEP 4:
Drill pilot holes in between the teeth of the edge in the locations of the dots:
T T T•T {BREAK} T•T T T
===================
Putting the screw here will keep the edge in place vertically and horizontally. Be careful not to drill all the way through the ski. It only needs to be as deep as your screw.
STEP 5:
Put some JB Weld on the threads of the screws and screw them in the pilot holes. I ended up using 3 this time just to be extra sturdy.
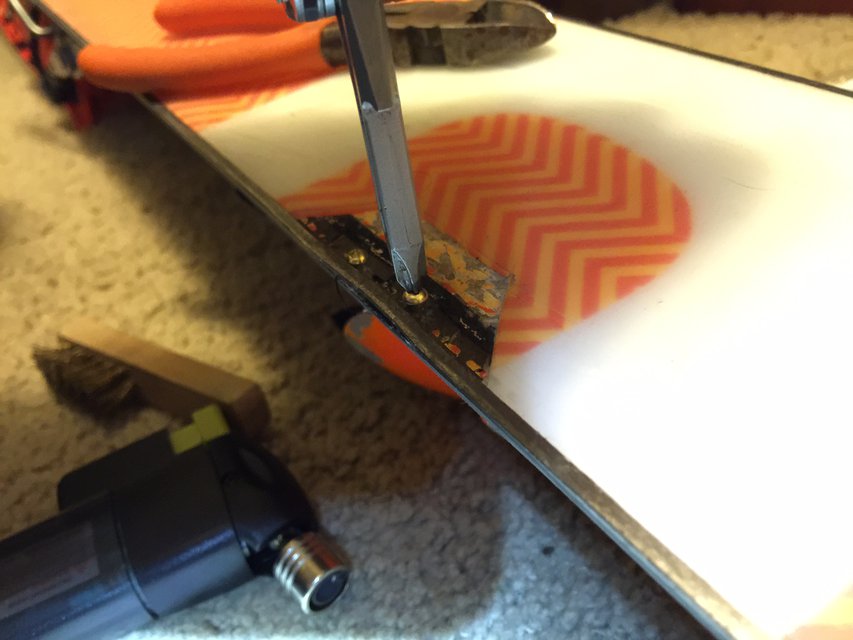
STEP 6:
Grind off the heads of the crews so that the base can fit back in place. I just put a Dremel bit in the drill because I don't have a proper Dremel. Leave a thin layer of screw head still covering the teeth of the edge.
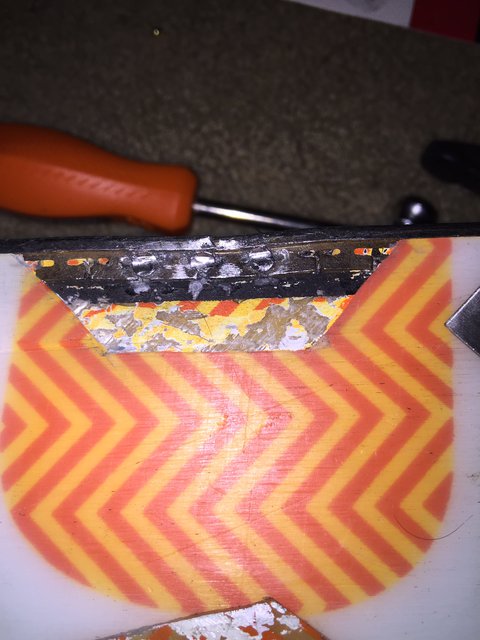
STEP 7:
Make sure the piece of base still fits in. It may have gotten stretched while you were prying it off and the space it goes in may not be the same shape if the edge isn't perfectly straight. You may need to shave a bit off the bottom to make room for the screws or shave a bit off the sides to make it fit. I also found it helpful to heat the base piece with a lighter to make it more malleable.
Next, cover the entire trapezoidal are of the exposed core with JB Weld and put the base back in its place. (its ok that some JB Weld will get pressed out, you can scrape it off later).
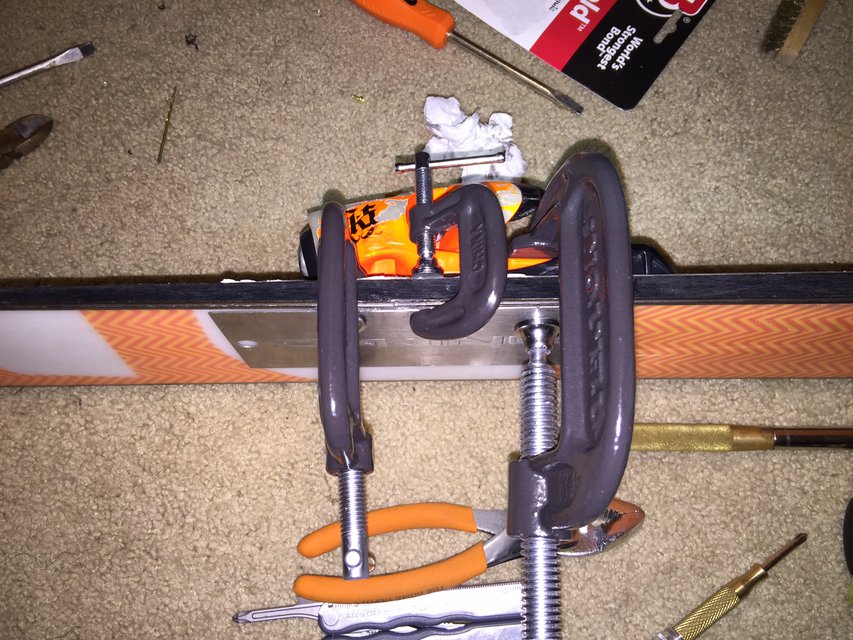
STEP 8:
Use claps to hold everything tightly in place and let it set overnight. I used a scraper to distribute pressure.
RESULTS:
This is what it looked like the next morning. I cleaned a bit more of the gray JB Weld up after I took this and used a razor to make the junction of base pieces flush. I also got the Dremel bit back out to smooth out the crack in the edge.
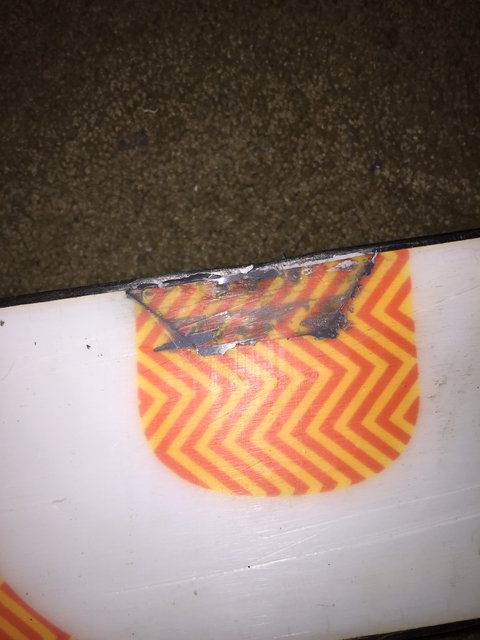
I've ridden more than 20 days on this repair and it still looks just the same. No sign that the edge is getting any looser or that the base piece wants to come off and no noticeable difference in the way it skis or slides rails.
Comments