If you’ve seen my reviews before you know that I don’t really review a product unless I really like it, or really hate it. Before you go on you should know I’m partially biased since I’m sponsored by Clik Elite. So that being said take it for what it’s worth but I’ve been using the production model of this pack for the last year, and a prototype the year before, I think it’s an honest review.
The Clik Elite Contrejour comes in two sizes, the 35L and the 40L pack. Both of these packs are almost identical with the only difference being the 40L is two inches taller. It doesn’t sound like much but in the terms of fit, two inches makes a huge difference if you are…..rather vertically challenged like myself. Most men would probably like the fit of the 40L, I’d suggest people shorter than 5’5″ to go with the 35L for a better fit.
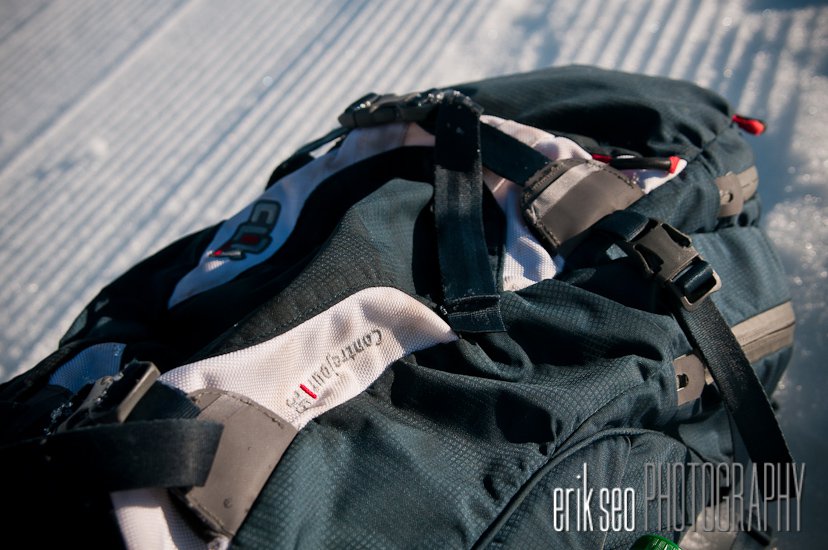
This pack has been a long time coming with Clik Elite and I’m glad to have been a part of the development. There are a few key features to this camera pack that stick out as different from the pack. The Contrejour has a curve to the pack to more closely follow the curvature of your back that is built into the aluminum frame as well as the rigid foam camera block that is built into the pack. Having the camera block built into the pack makes for one less thing to move around while you are skiing, snowboarding, biking, hiking, etc to help keep the bag glued to your back while you are charging hard to get into location.
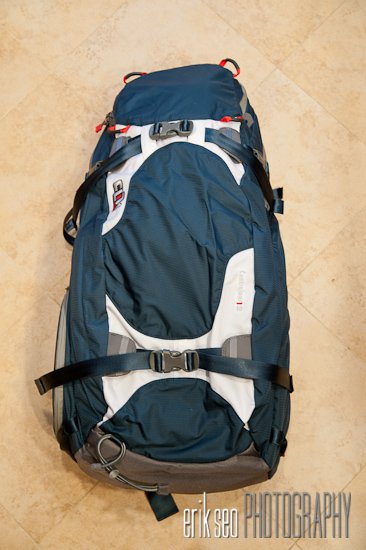
Front View
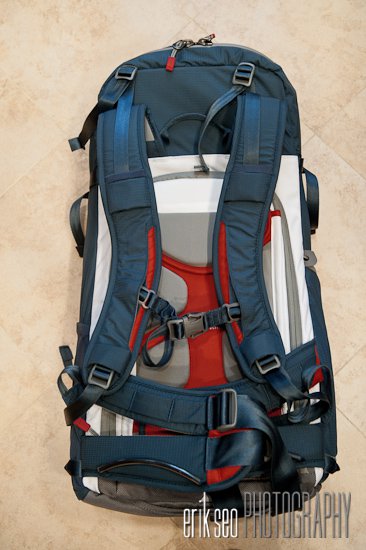
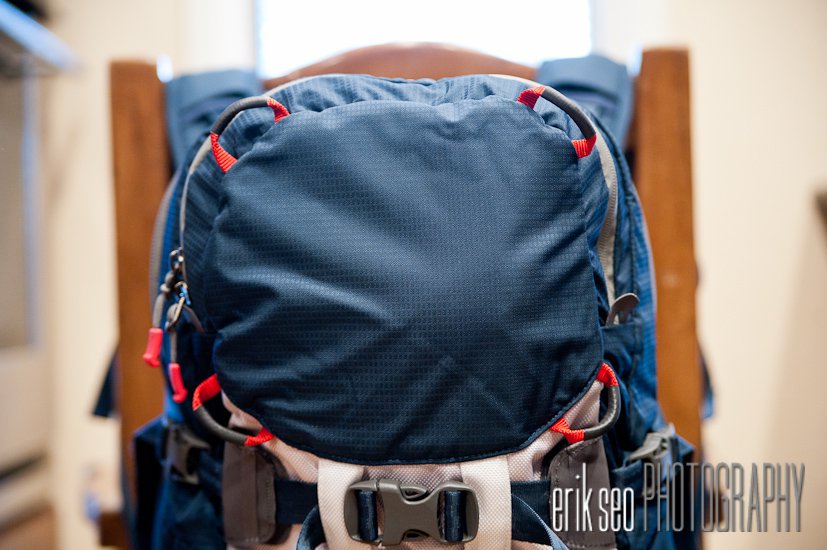
Back view
Another key point to this pack is the rigid hip straps. Pretty much everything out there has simply a nylon strap with webbing attached to it for their hip straps. At first I didn’t like the thought of it until I started skiing with it. It’s another piece of the puzzle to add to the carrying stability of the pack while you are skiing, riding, etc. Also the sturdiness of it takes the weight off your back and distributes it down your body, making carrying a full load much easier on you. In fact the harness on this pack is also the best I’ve had in a camera pack. On the same lines of the rigid hip straps is the use of seat belt webbing instead of the standard webbing used on every pack out there. Not that I’ve ever had a piece of webbing every break on me, but stepping it up to seat belt webbing is one more thing making this a bomber pack.
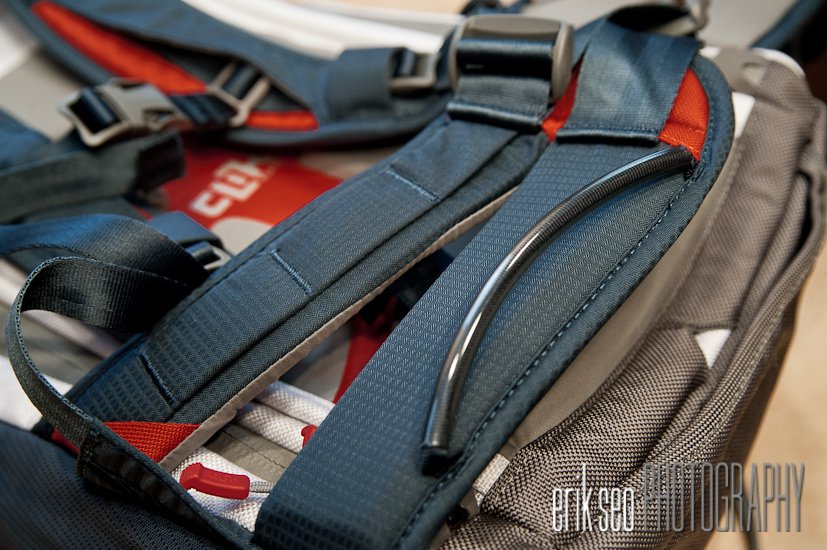
Detail view of the thick, rigid waist straps. Multiple loops in the webbing to hang equipment
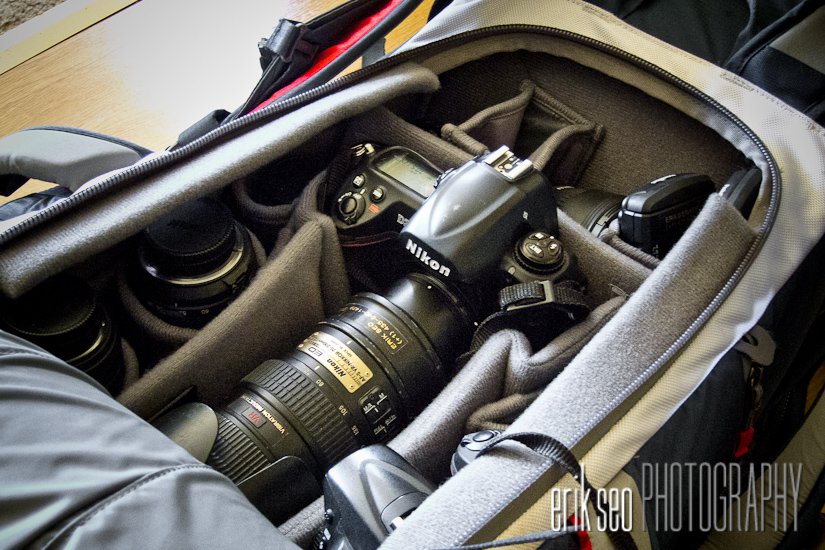
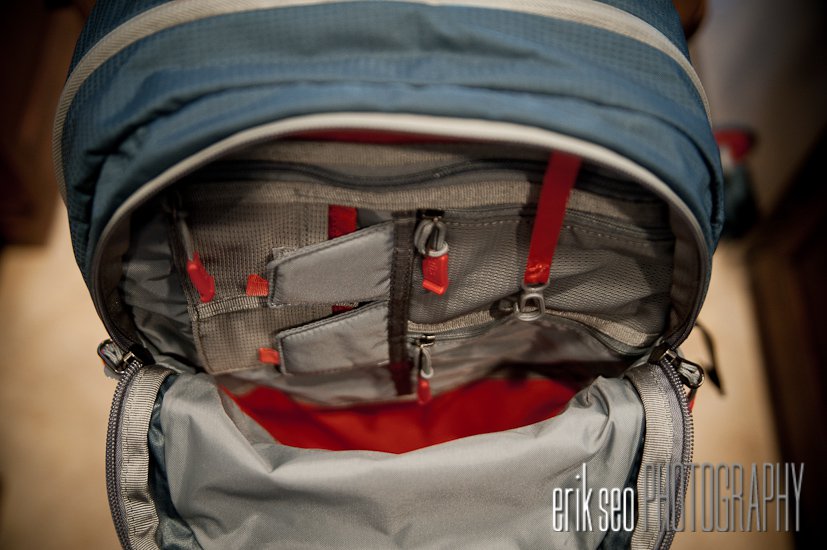
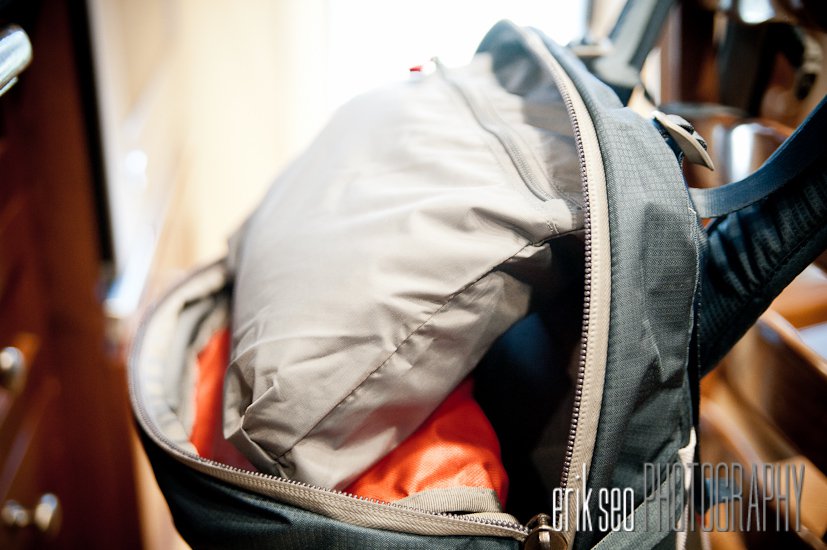
Main camera compartment
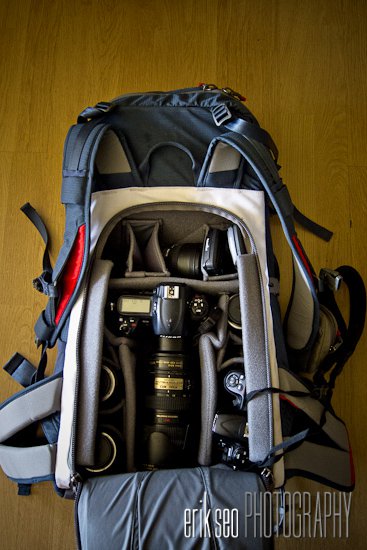
Main camera compartment
The last key point for this pack is the quick side camera access. For someone that has just a few lenses, this is really a plus. you can quickly take one back strap off and open the side access and pull your camera body out in just a few seconds as opposed to setting the pack down, and opening it up. For myself, it’s not something I use but it’s not because it doesn’t work for me, I just like to have the whole bag open when I’m getting my gear to have everything in front of me. The other reason I don’t use it is I can maximize the camera compartment and get one more lens, teleconverter and a few more pocket wizards in there with a more standard bag divider configuration than how this pack is setup from the factory. (camera + 70-200 is set in a horizontal configuration from the factory instead of the more traditional vertical setup.)
Side camera access detail
As opposed to some other vertically adjustable chest straps out there, the Clik Elite packs have a ladder setup that’s guided through webbing instead of plastic piping. The only way that’s breaking lose is if you break the ladders or the buckles. If that happens, you have much more pressing problems to deal with than a blown out backpack strap.
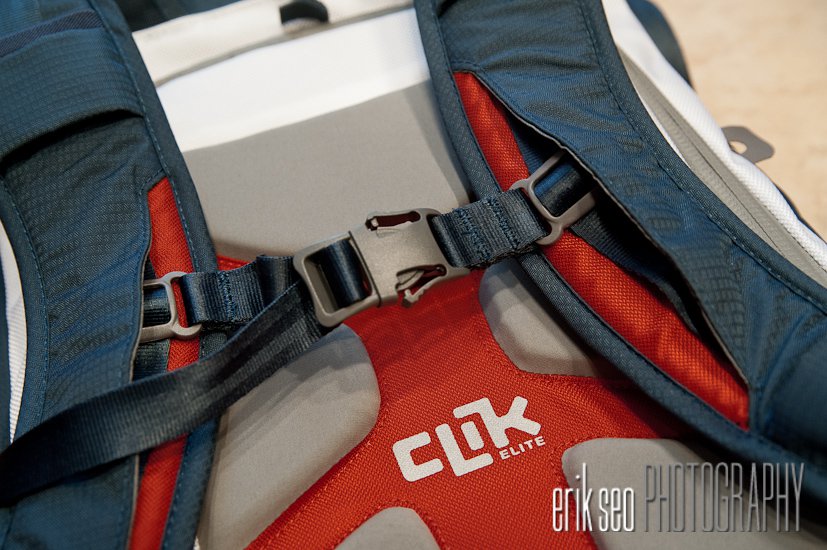
Chest strap detail
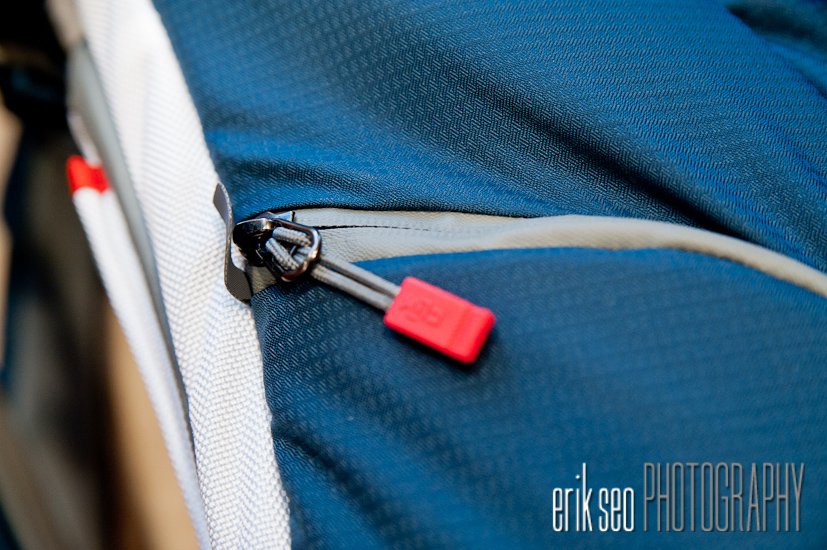
The zippers in the main camera compartment are highly durable, large YKK water resistant zippers. You don’t have to worry about them blowing out. I abused mine and stuffed it to the gills for about 180 days this winter and it actually works better now that it’s broken in a bit!
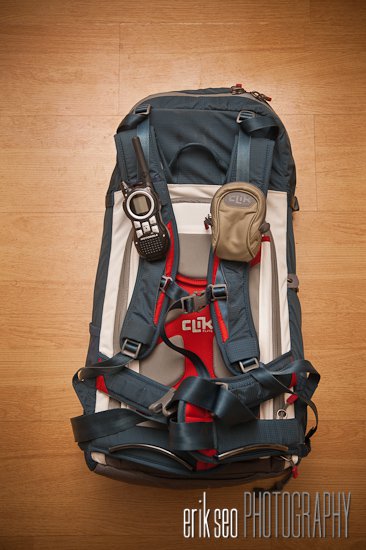
Radio clipped on and small pouch for a point and shoot camera attached to the accessory loops on the straps.
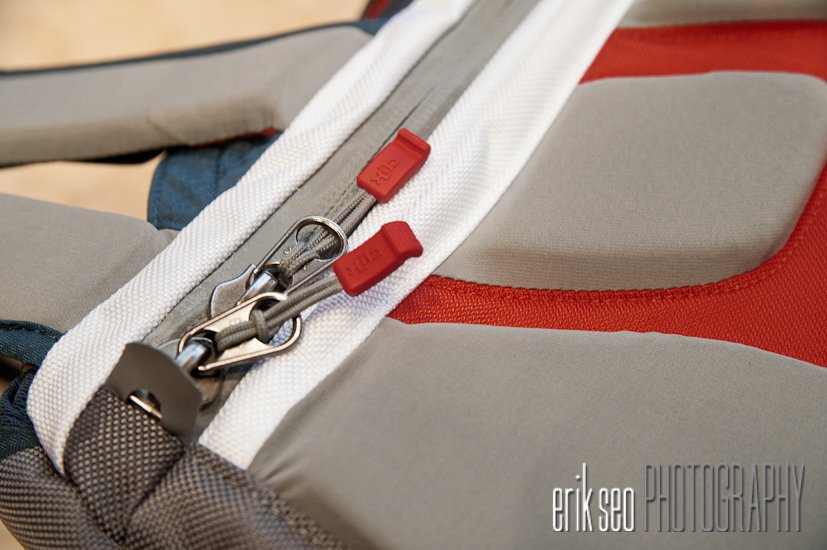
Main compartment zipper detail
The materials used for the Contrejour are plain and simple tough and pretty water resistant. They’ve kept my equipment safe for the past two years and so far have held up very well.

Accessory bungee tie down detail
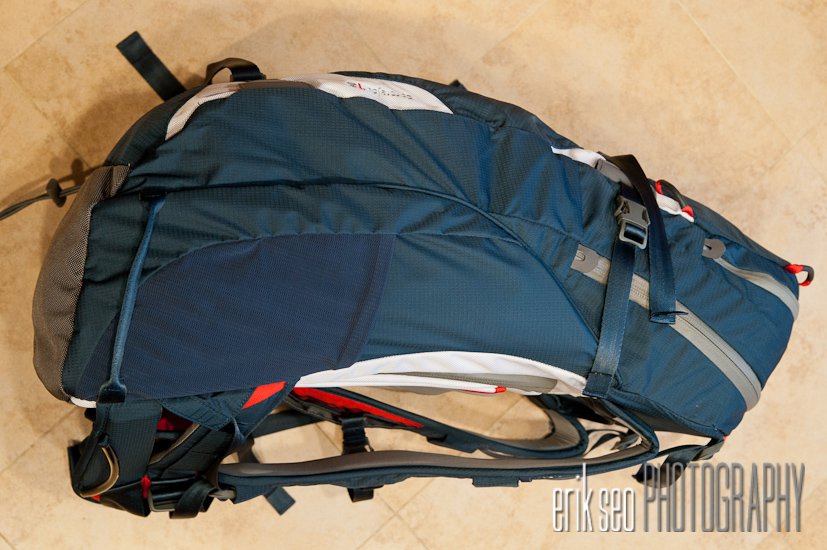
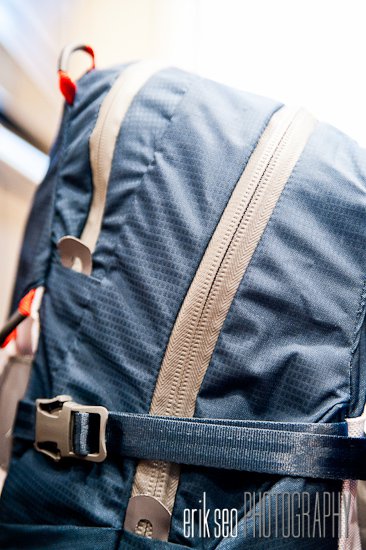
Side View
The side pocket is an elastic mesh material that is far more durable than I had expected. The pocket can accommodate a water bottle and a small light stand, or two medium sized light stands.
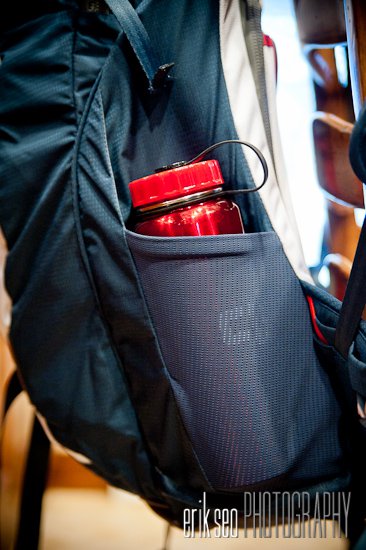
Side pocket detail view
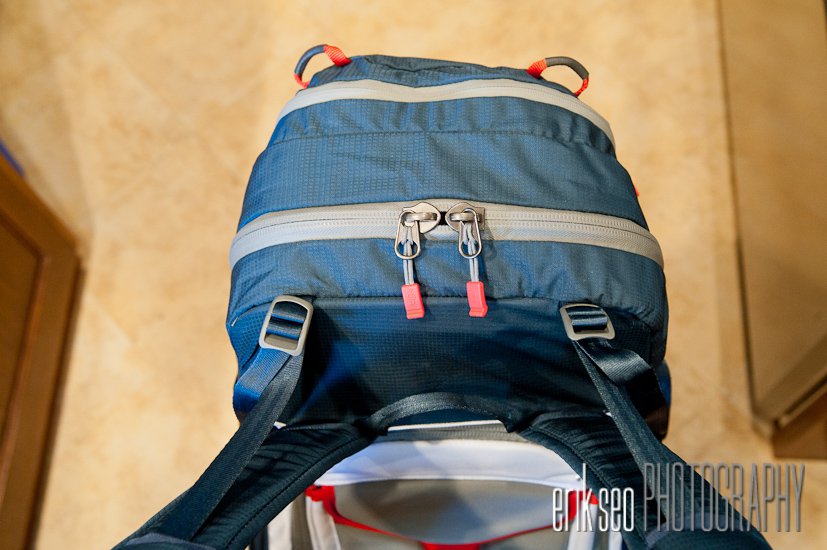
Top View
The center straps on the front of the pack are also seat belt webbing but are also reinforced at their attachment points with a rubber coated nylon. This is good because if you carry your skis on your backpack, those reinforced areas can take the brunt of the wear from your sharp ski edges.
Front view of top compartment
Side view of top compartment
The top accessory pouch has memory card slots and three other zippered pouches including a lanyard that’s attached to the inside of the pocket to keep you from losing your keys! This compartment is much larger than it looks, I’ve stuffed quite a bit more than I was expecting to be able to in this thing.
Detail view of the top accessory compartment
This pocket also holds a pretty uprising amount of gear. I usually had it stuffed full of filters and other misc cables and snacks.
Side view of the top main compartment access pocket
When I’m travelling by air, the side opening is where I slide my laptop in to make the most of my one allowed “personal item.” Since it carries both my laptop and my camera, it’s considered a personal item, leaving me with space for a carry-on roller. For sizing reference, I have a 15.6″ Dell Vostro 3500 Laptop with dimensions of: 14.78″ W x 1.37″ H x 10.24″ D. I’m assuming a Macbook Pro should be able to fit in the same way since they are very similar in size. The Contrejour fits in the overhead bins of EVERY plane I’ve flown in the past two years with the front compartment (where I carry my laptop) empty. This includes the commonly used Candair CRJ 200/700/900 commuter jets. The 35L will also fit under the seat in front of you and will go all the way under the seat with an empty front compartment. For a average or above height person this wouldn’t really work so well but for someone my height (5’3″) this works just great if I the overhead bins are full.
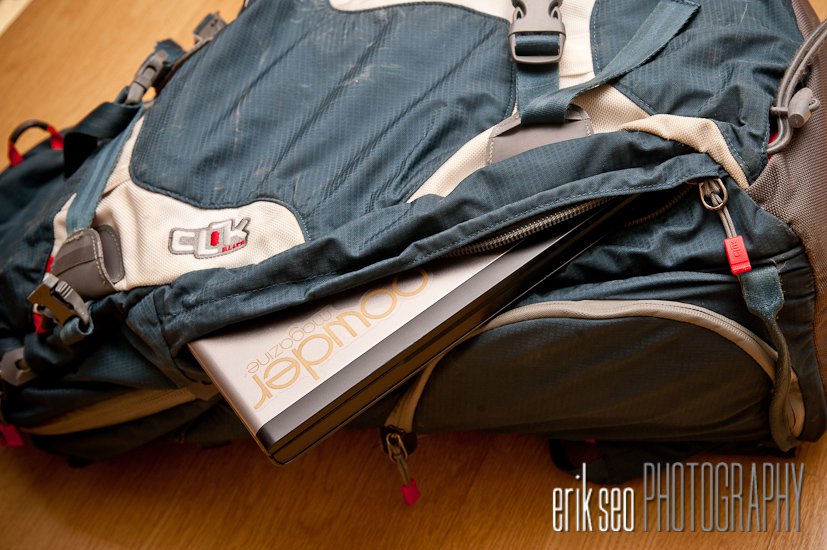
The Contrejour 40 with a 15″ laptop in the front pocket
The Contrejour 40 in a Candiar CRJ 700 regional jet’s overhead bin. It fits, but please excuse the terribly blurry iPhone photo

The Contrejour 35 underneath a seat in a United Airlines Airbus A319
In conclusion, it’s a very well built and well designed camera backpack. It’s actually the best one I’ve ever owned for a number of reasons. In comparison to the F-Stop packs out there, which in my opinion are the only other camera backpacks out there that truely work for action sports and adventure photographers they are comparable in many aspects, however the Contrejour’s shape and rigidity make it ski better than any other pack I’ve had. How it carries is the most important feature in my opinion for a camera backpack. Second is it’s storage capacity and ability to protect your equipment. Of course one drawback of heavy duty, durable fabrics is a heavier pack. It’s heavier than the F-Stop Satori I used to use as my workhorse, but I think it makes up for it’s weight in durability.
The storage capacity is quite large in this pack, although it’s divided into two different sections, the camera compartment and then everything else. The front side of the pack looks pretty small in size however it stretches out like your stomach after Thanksgiving dinner! I’ve had as much as a mid layer puffy jacket, sandwich, snacks, two soda cans, Alien Bee strobe head and Vagabond mini power pack in the lower section with my climbing skins taking the top storage area of the front compartment. Access is from the top as well as the side.
With a price tag of $305.00 it’s one of the more expensive packs out there in it’s class. But you get what you pay for. Buy it nice once or buy it twice.
You can buy it here at B&H Photo.
Comments